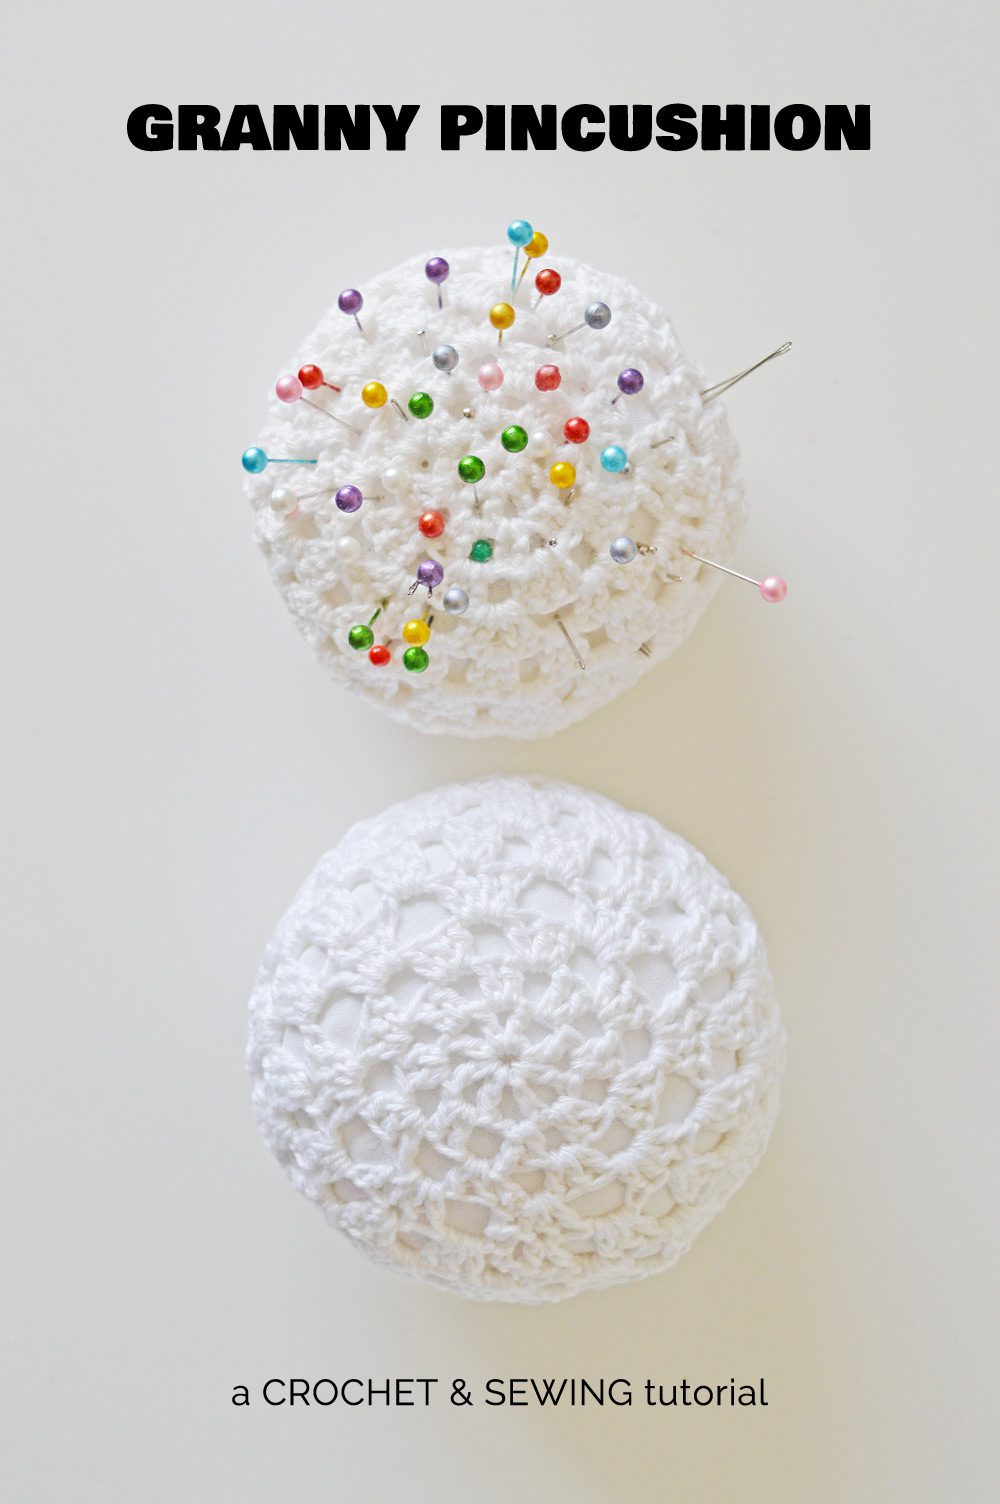
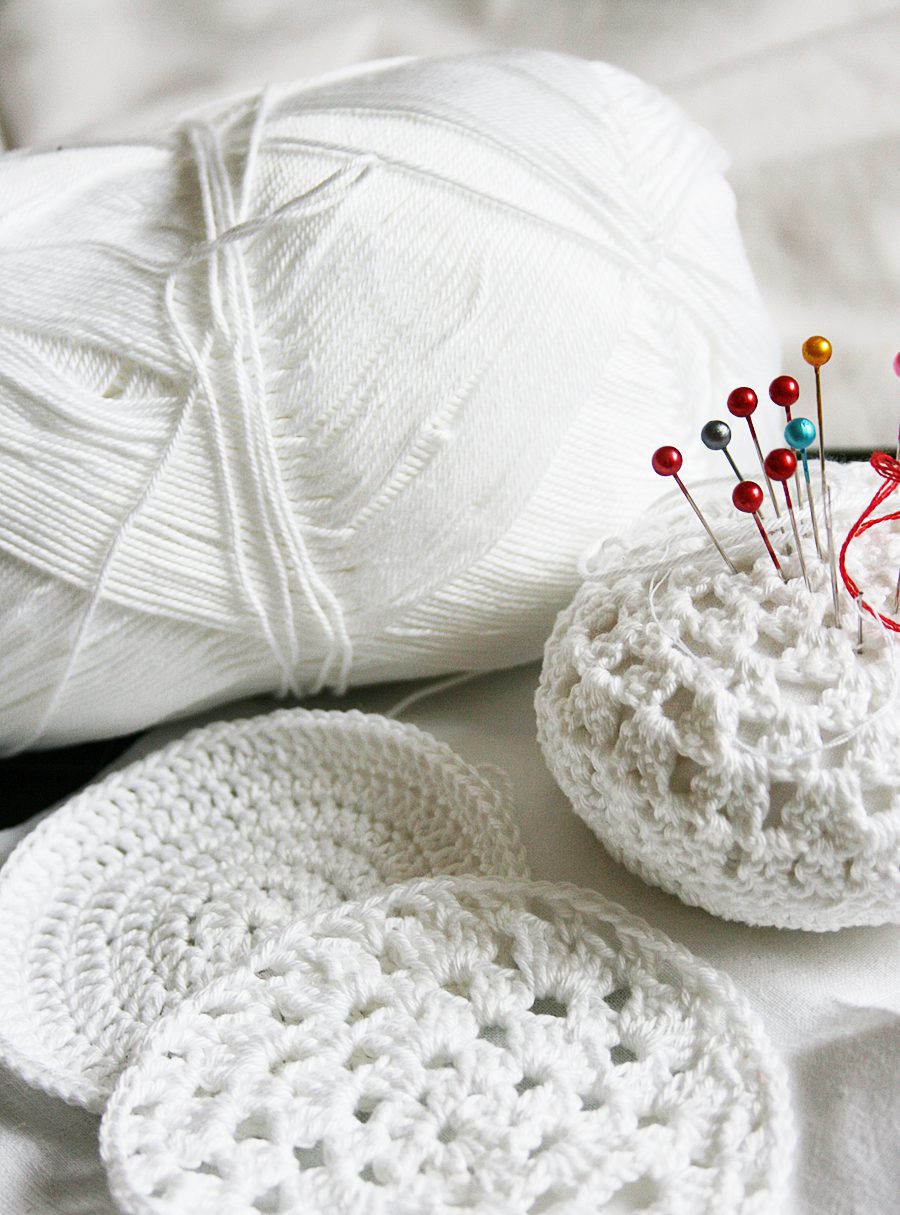
DIY crochet pincushion
Find-the-pin-with-your-toe isn’t a very fun game.
Trust me, I speak from experience. When I started crafting in earnest, I knew I needed a good way to store my pins. A little tomato with a flimsy thread loop wasn’t going to cut it. This pincushion was my first crochet design—not that I invented granny circles or anything. Instead of anything as ambitious as a blanket, my first crochet project became this pincushion. Circle, circle, insert, and done.
Ultimately less effort, and just as practical. Have no need for a pincushion? Fill it up with lavender for scent or rice to make a weight.
If you’ve been reading my blog for a while you’ll recognise this project. Two-and-a-half years after writing the original pincushion tutorial, I thought it deserved an update. I would hope I’ve gotten a bit better at explaining crochet through experience.
There’s a free PDF version to keep on the go, too. Let’s get making!
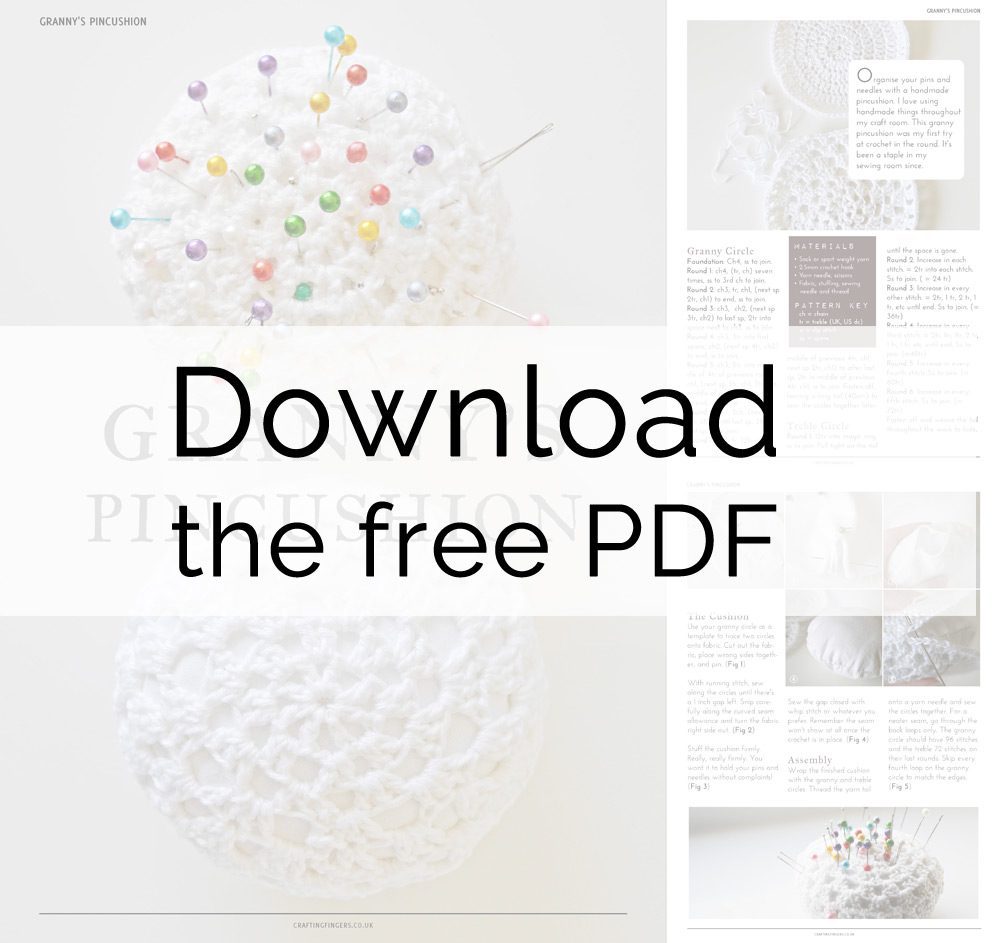
Download the printable PDF tutorial to follow along on the go.
Or download the low-res version here.
Materials
- Sock or sport weight yarn
- 2.5mm crochet hook
- Yarn needle, scissors
- For the cushion insert: white fabric, sewing thread & needle, batting, fabric pen
Gauge isn’t important in this project. Feel free to use whatever yarn you have handy to try the pattern. I used the hook size as recommended on the yarn label for this project.
THE PATTERNS
ch = chain, tr = treble/US double crochet, ss = slip stitch
Granny Circle Crochet
Foundation: Ch4, ss to join.
Round 1: ch4, (tr, ch) seven times, ss to 3rd ch to join.
Round 2: ch3, tr, ch1, (next sp 2tr, ch1) to end, ss to join.
Round 3: ch3, ch2, (next sp 3tr, ch2) to last sp, 2tr into space next to ch3, ss to join.
Round 4: ch3, 3tr into first space, ch2, (next sp 4tr, ch2) to end, ss to join.
Round 5: ch3, 2tr into middle of 4tr of previous row, ch1, (next sp 3tr, ch1, 3tr into middle of previous 4tr, ch1) to end, ss to join.
Round 6: ch3, 2ch, (next sp 4tr, ch2) until last sp, 3tr in last sp, ss to join.
Round 7: ch3, tr, (2tr in middle of previous 4tr, ch1, next sp 2tr, ch1) to after last sp, 2tr in middle of previous 4tr, ch1, ss to join.
Fasten off, leaving a long tail (approx 40cm) to sew the circles together later. The last round should finish with 96 edge loops. (Chains count.)
Treble Crochet in the Round
Round 1: 12tr into magic ring, ss to join. Pull tight on the tail until the space disappears.
Round 2: Increase in each stitch. = 2tr into each stitch. Ss to join. ( = 24tr)
Round 3: Increase in every other stitch. = 2tr, 1 tr, 2 tr, 1 tr, etc until end. Ss to join. (= 36tr)
Round 4: Increase in every third stitch. = 2tr, 1tr, 1tr, 2 tr, 1 tr, 1 tr, etc until end. Ss to join. (=48tr)
Round 5: Increase in every fourth stitch, ss to join. (= 60tr)
Round 6: Increase in every fifth stitch, ss to join. (= 72tr)
Fasten off and weave the tail throughout the work to hide.
How to put it all together
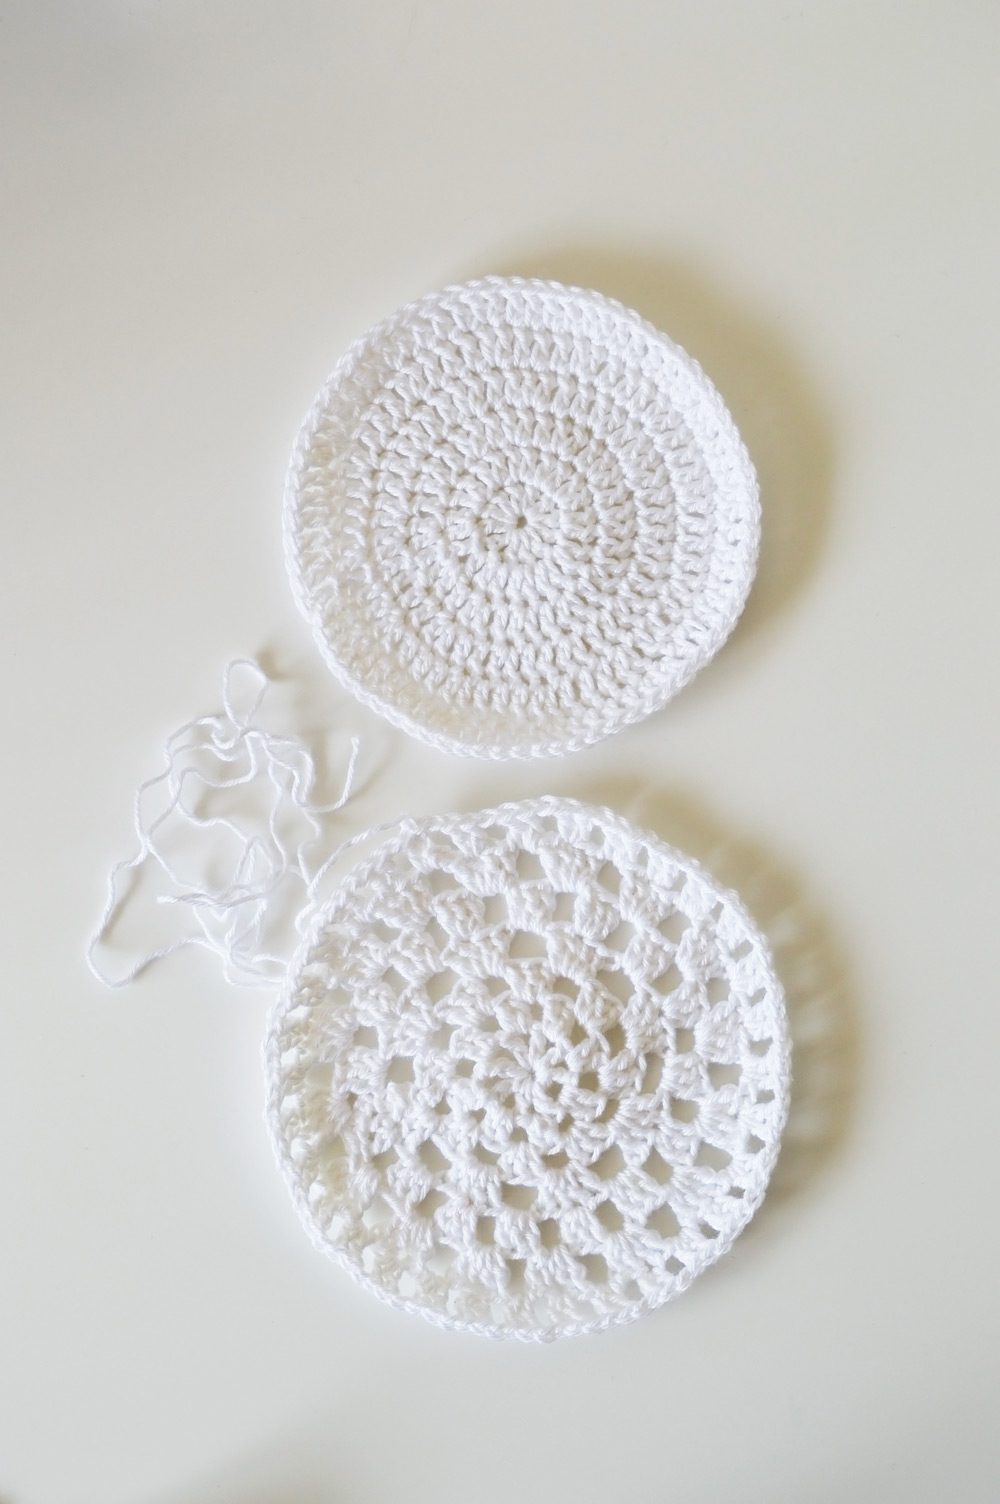
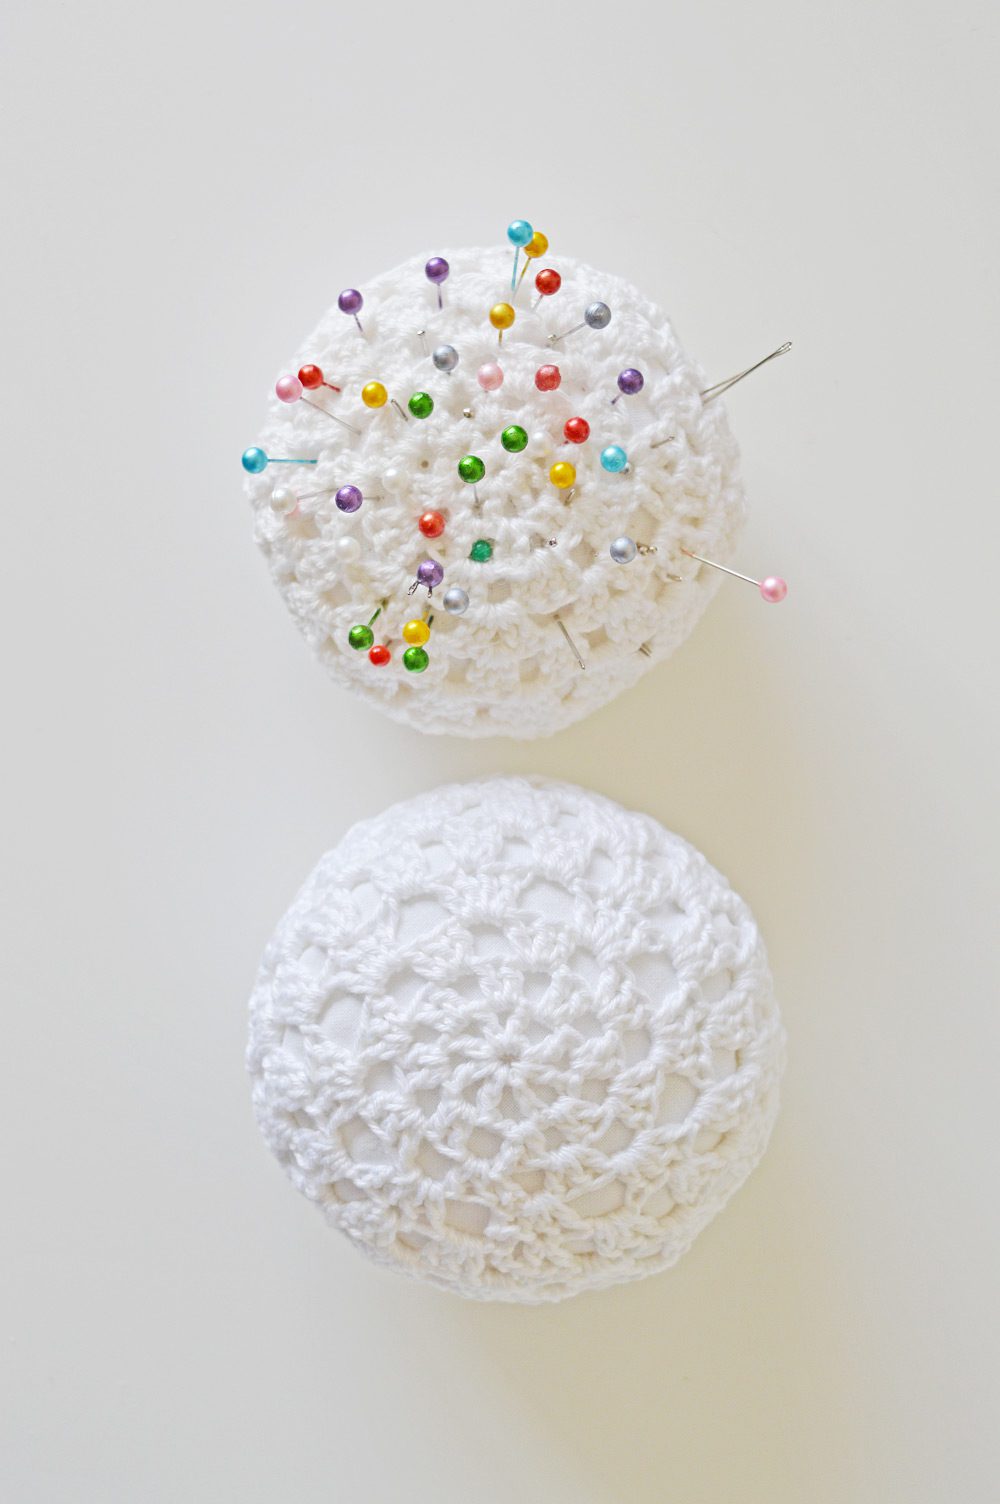
For the top: Make seven rounds granny circle crochet.
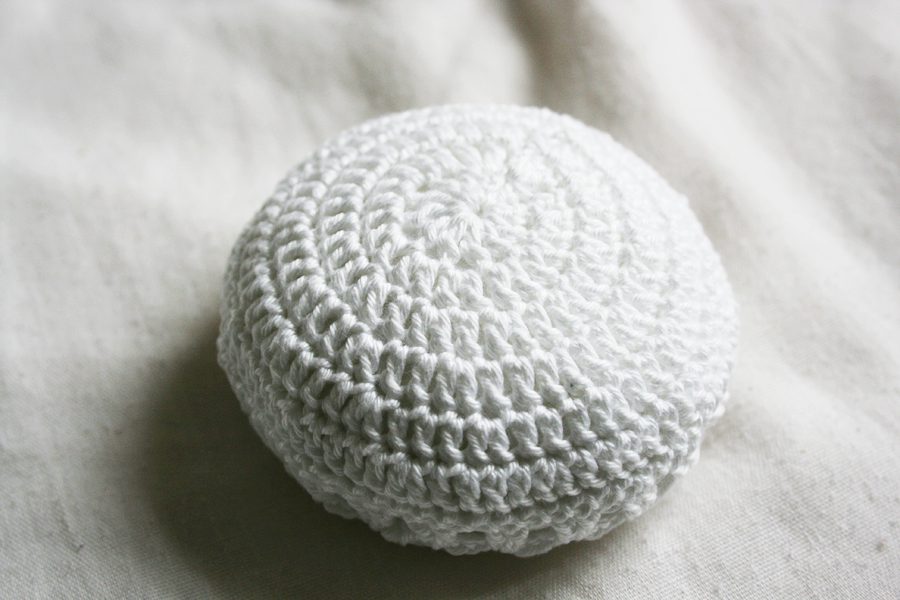
For the bottom: Make six rounds of treble crochet. (Patterns are above.)
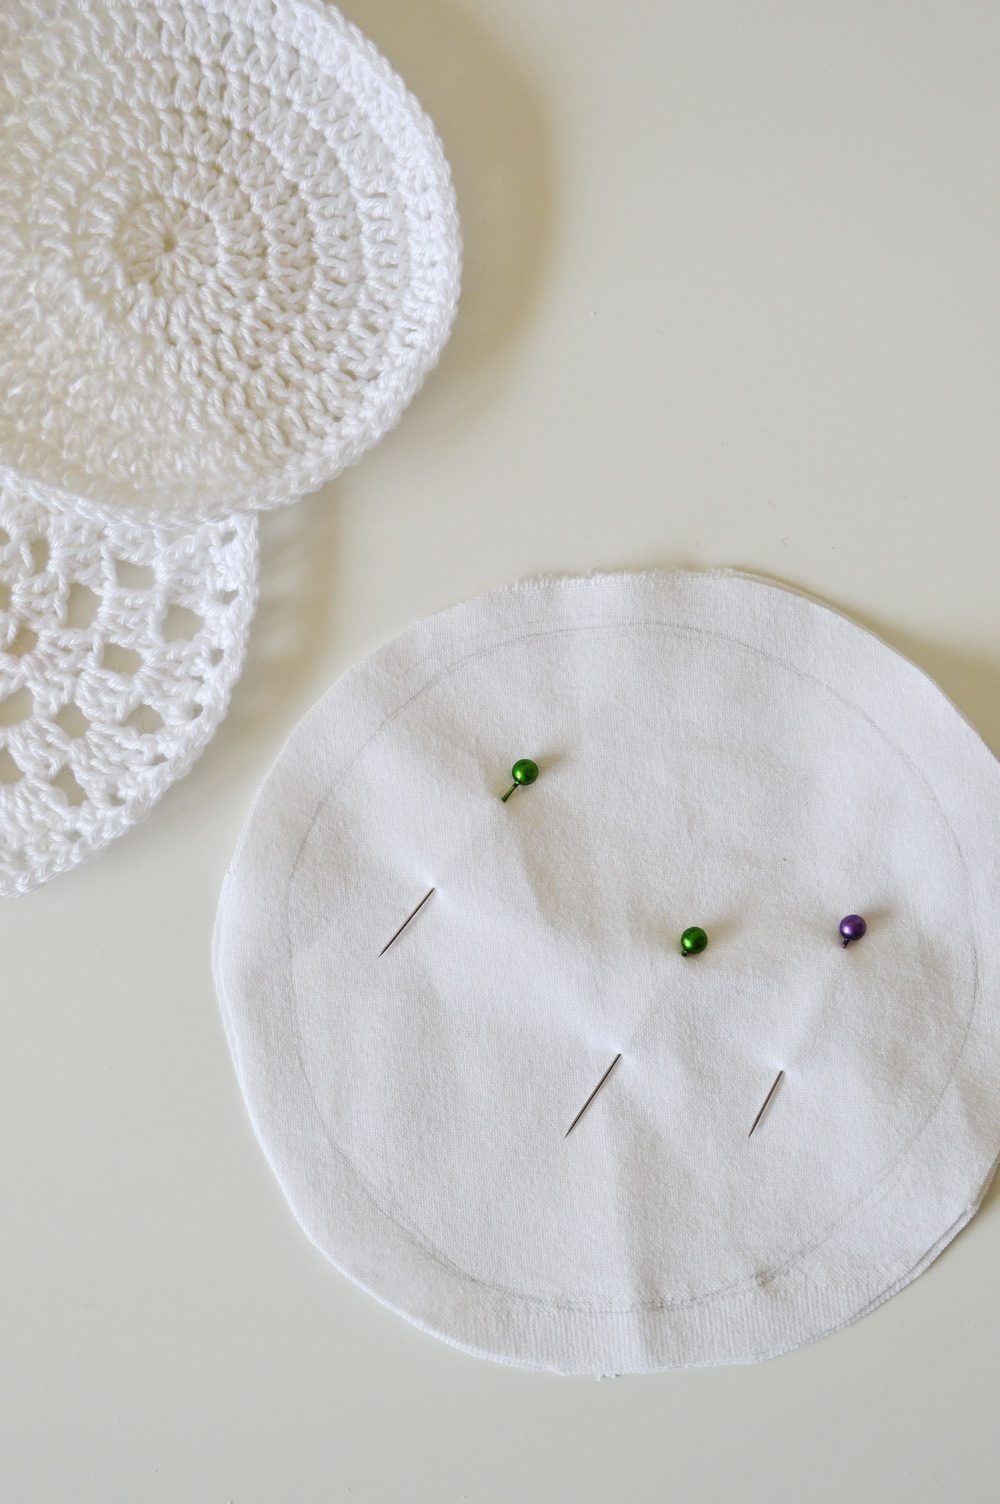
2. Trace two fabric circles the same size as your finished granny circle. I traced mine with pencil. Add a centimetre all around for seam allowance and cut out.
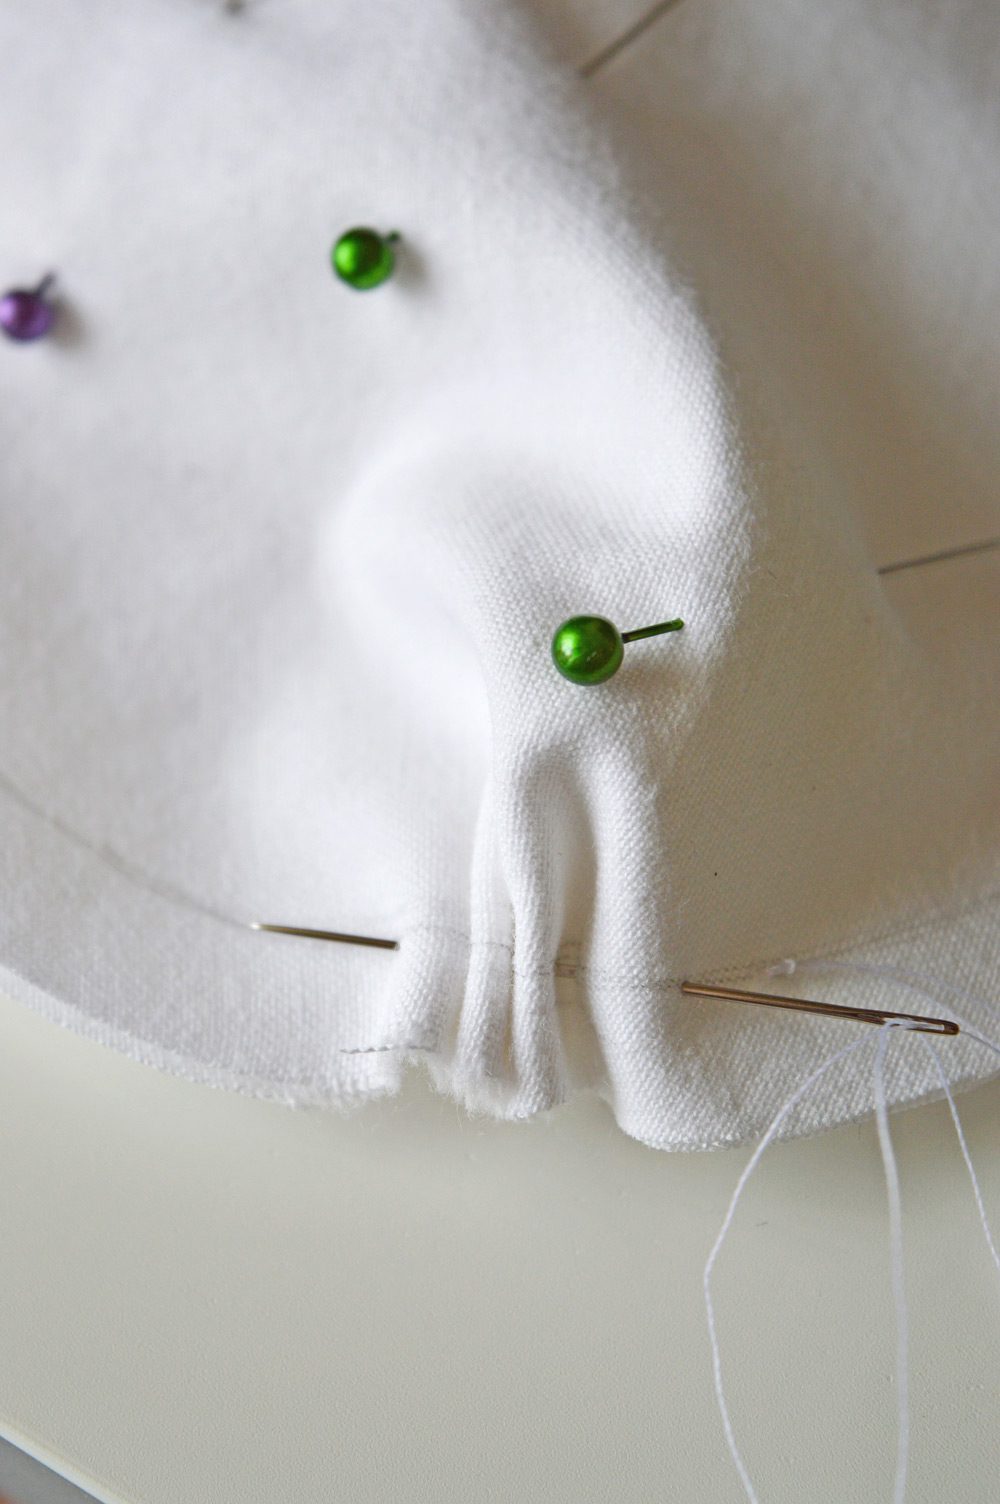
3. Lay the fabric circles right side together and sew with running stitch. Stop when you have an inch-long gap. Snip along the edges for a neater seam and turn the insert right-side out. I used the pencil from tracing the circle to push the fabric through.
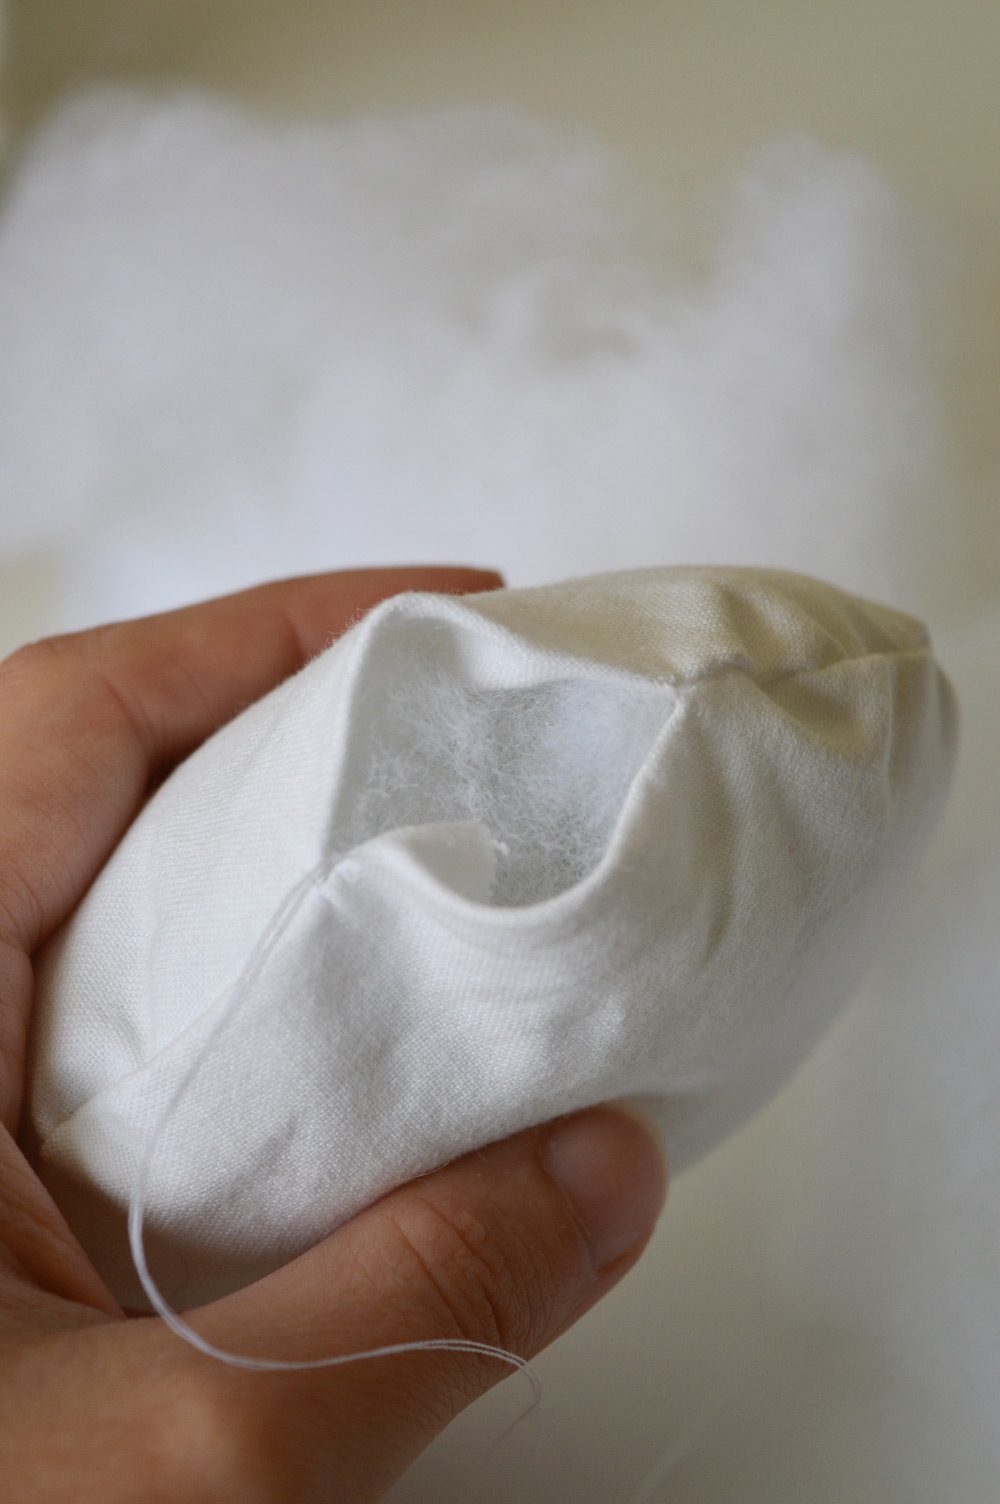
4. Stuff that insert! You want it to be really firm. Close the gap with an invisible seam or whip stitch, whichever you prefer. It’s not going to show once the crochet is in place.
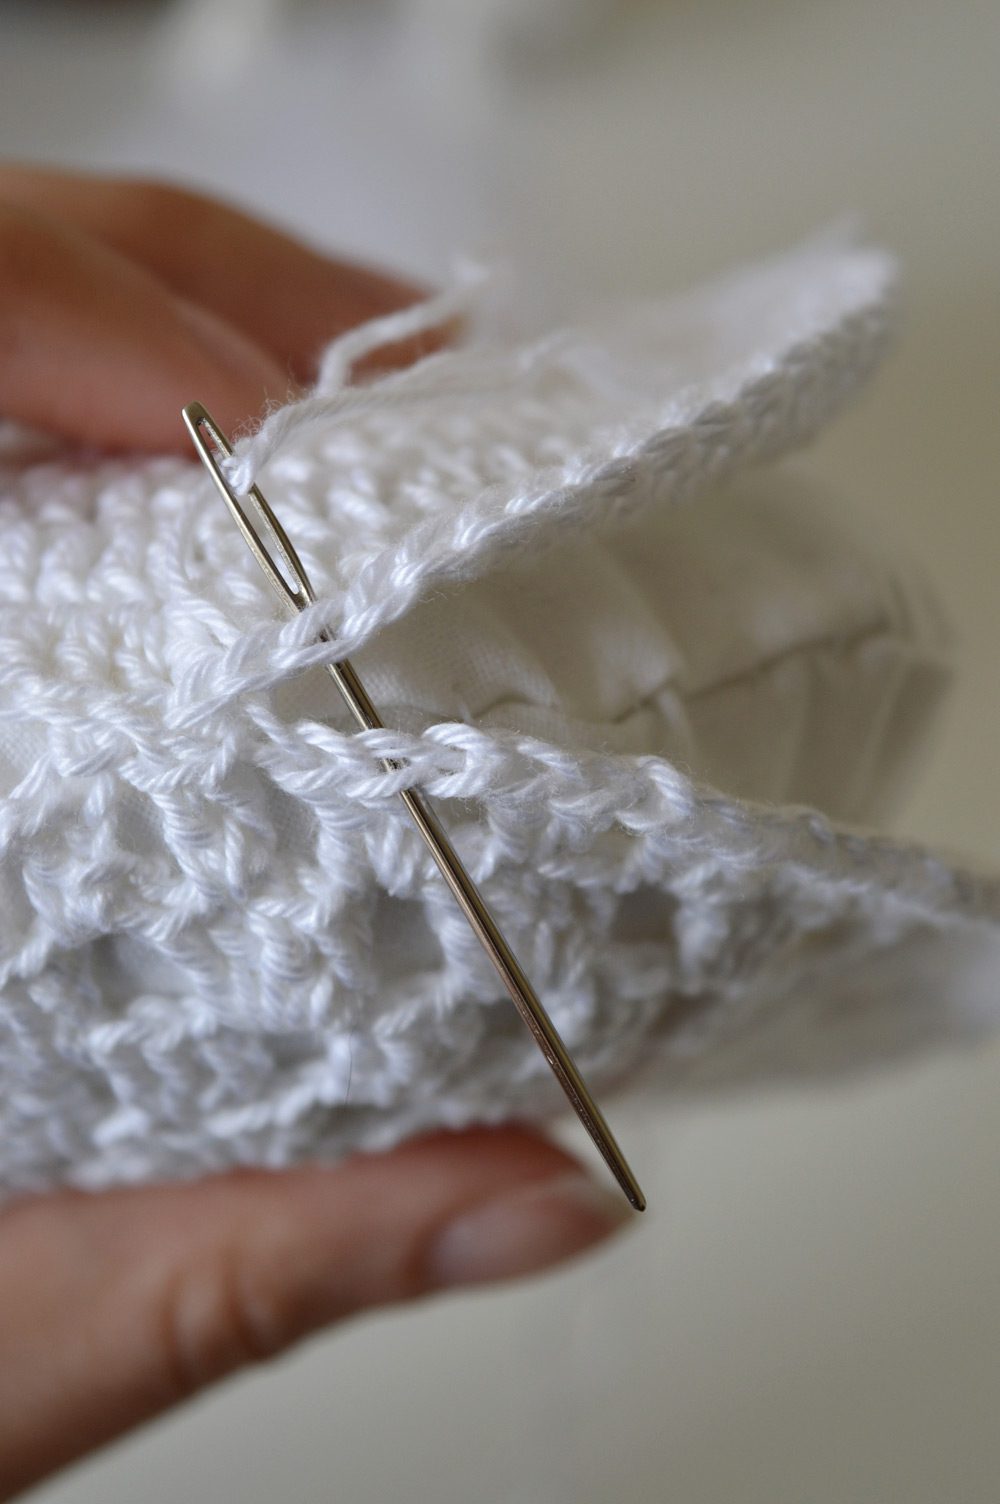
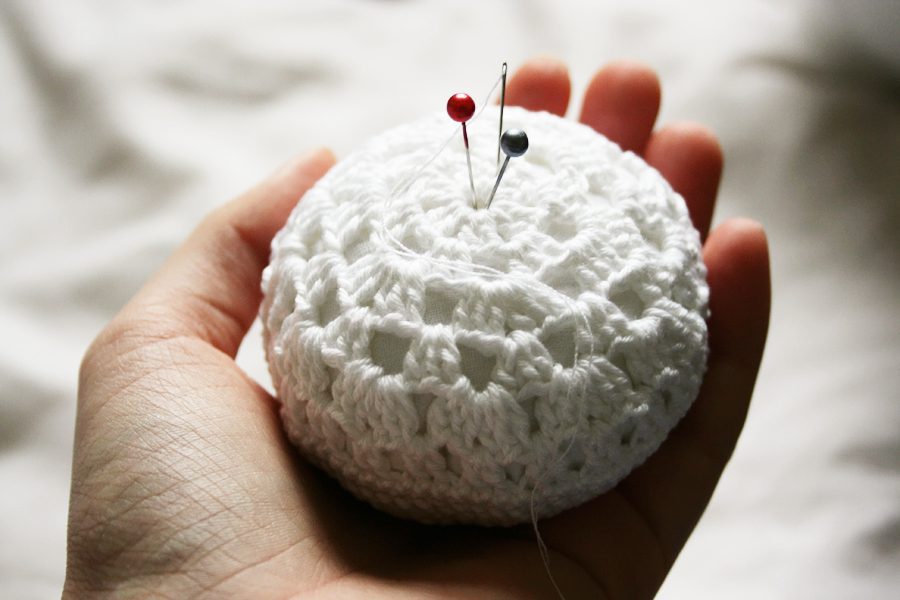
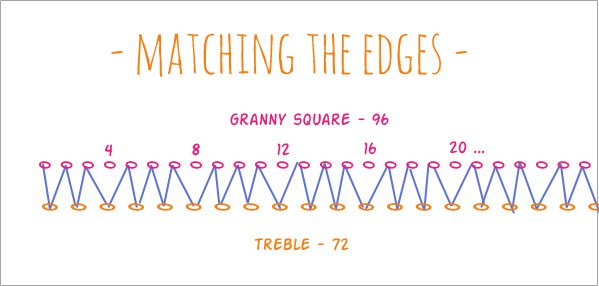
5. Place your two finished crochet circles over the finished pillow, right sides out. Sew the crochet circles together with the granny circle’s yarn tail. (Picture tutorials of techniques for sewing together crochet here.) Skip every fourth loop on the granny circle to match the edges. See what I mean below:
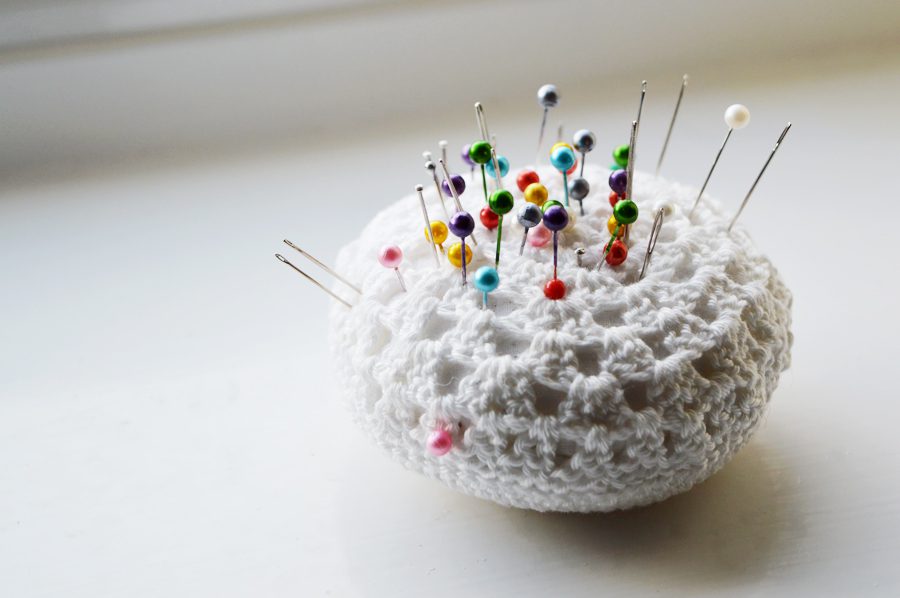
That’s one pincushion down, ready to keep your needles handy. I’ve used mine for two and a half years now, proof that even something cute can hold up to constant use. Pretty and practical, as handmade should be.
Let me know what you make!
Lots of crafty love,
![]()
Lovely photo tutorials from Simply Crochet:
Beginners class: how to treble crochet
Beginners class: how to crochet slip stitch
How to crochet in the round
This is a revised version of my pincushion tutorial originally published on January 23, 2013.


Seeing the finished project on the piece of felt above makes me want to make one into a tortoise shell and then add to a piece of felt tortoise shape! Would love a real tortoise but not sure the diglet wouldn’t try and play with it!
That’s a really good idea! It’d be easy to do with just one side of the circle, too, so instead of a plush tortoise you could have a coaster if you wanted to. (Either option being, yes, easier to manage than a real tortoise haha) So many ideas with such a simple shape! Thanks for commenting :)
[…] 4 Crochet pin cushion by Crafting Fingers […]
[…] 4. Crochet pin cushion by Crafting Fingers /5. Woven ribbon lavender by Tales From Mountpleasant […]
[…] crochet border -goodknits beginner mittens knitting pattern -gina michele granny circle crochet pin cushion -crafting fingers feather and fan knit lampshades -florriemarie tunisian crochet sunglasses […]
[…] via craftingfingers.co.uk. […]
[…] (Crafting Fingers) […]