Having fun with Makeve Kits
Craft kits are one of my favourite little treats. Especially so when I was building up my stash.
It’s so nice to pick up a box and go home, and know you have everything to make the pretty project on the cover. And now, when my stash is getting out of control, a kit means I don’t have to dig through everything to find that ONE ribbon I SWEAR I had…
Abi and Kirsty are the two women behind Makeve, a business organising relaxed craft nights and other events. They sell their craft kits individually, too. I got to have fun with a couple of them!
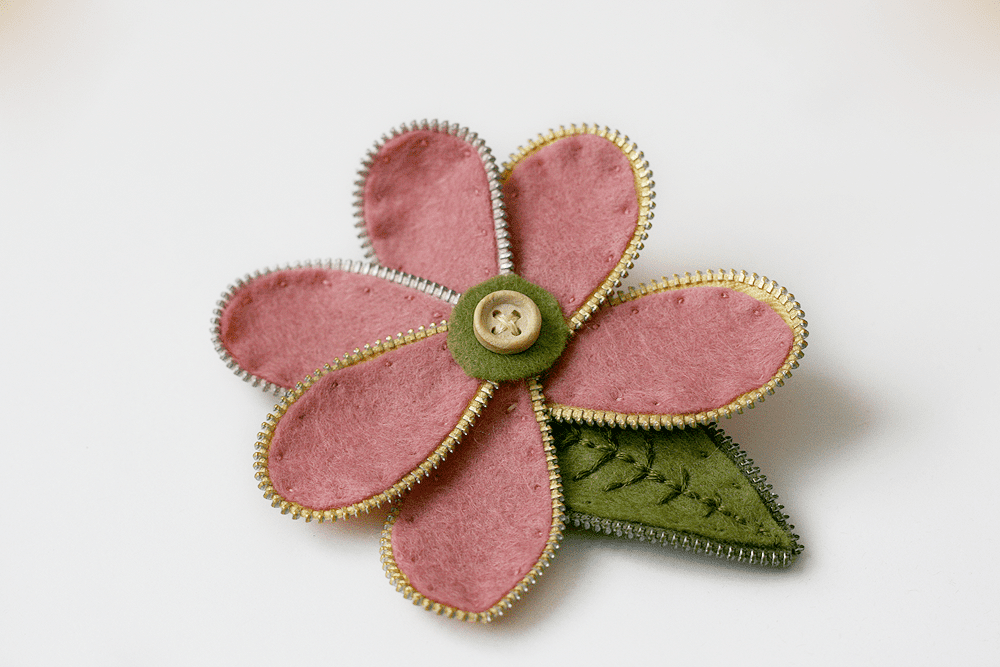
The kits I made were a lovely zip flower brooch and some cute ribbon shoe clips. Today I’ll tell you about the zip flower. The quick answer is I love it. And, yes, I did embroider the leaf in the wrong direction. (Oops.)
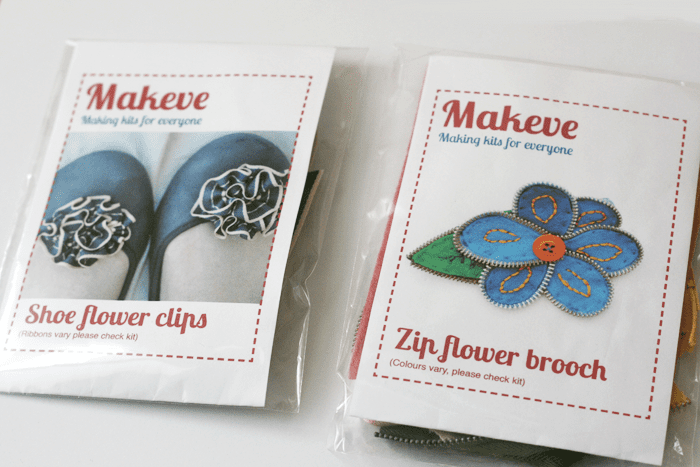
The first impression I got from the kits was the simple, efficient packaging. I always prefer packaging that doesn’t use plastic, but the little bags were small and really portable and I loved the big photos. I could see myself grabbing a few for a craft-in with friends.
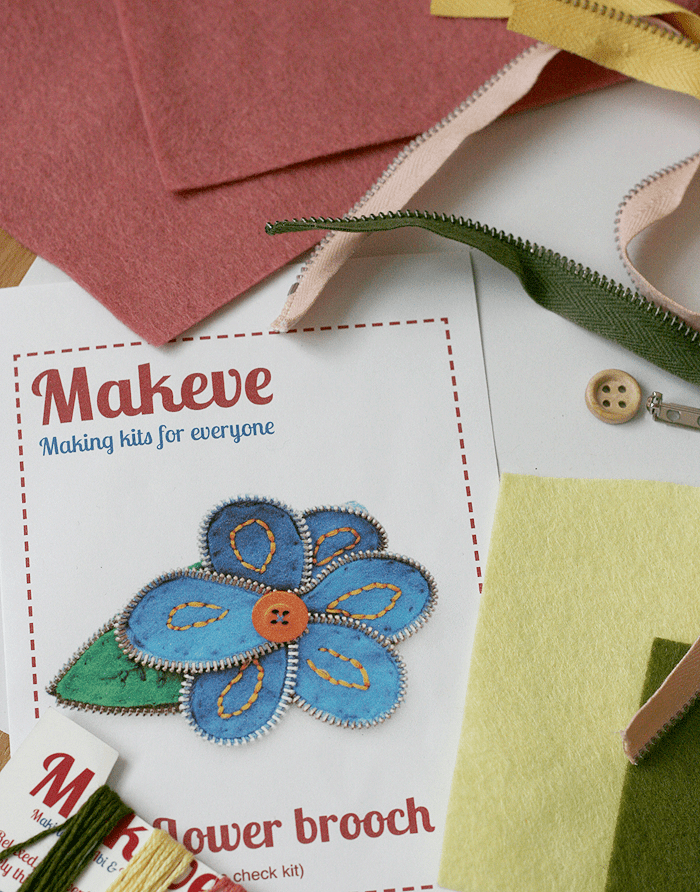
I started working on the brooch. My first thought was that there was an awful lot of felt for this project! I only used one sheet of the muted pink and none of the yellow, but a bit of that was because I veered from the directions at the end.
Sewing the zip onto the petal shapes was a bit fiddly. The kit claimed all I needed to complete it was a needle, scissors, sewing thread, and fabric glue. I added sewing pins to the list, and pinned the zips in place to make it easier.
I skipped the petal embroidery, but for the rest of the project I used the thread that was provided. I didn’t need to use any of my own.
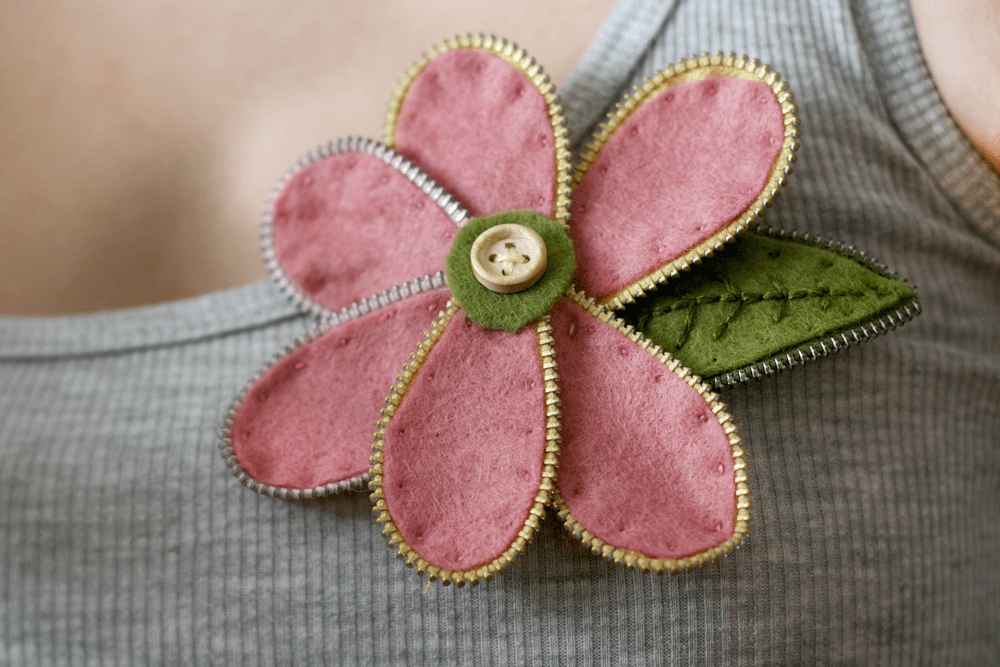
The only problem with the kit showed up when I started putting the petals together. The button I was given was too small to cover up the join well. To make do, I used some leftover green felt to place behind the button. I love the way it turned out!
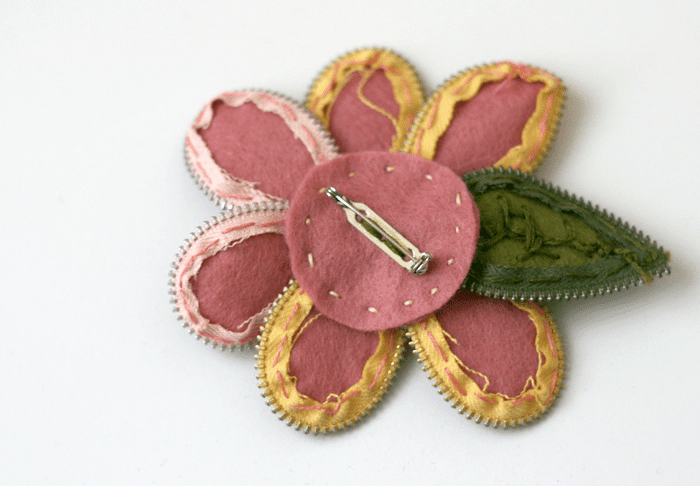
Instead of using fabric glue, I sewed a little circle at the back for the pin and left most of the brooch back ‘raw.’ The kit does give you the felt you need to cover up the back; that was just my own preference. One thing I love about craft kits is that you still have creative freedom!
All in all, I love my new brooch. On Monday I’ll tell you all about the shoe clips. But first, I have a date to go shoe shopping this weekend. ;) [UPDATE: Check out the shoe clips here!]
xo,
![]()
Abi and Kirsty are having a [highlight bg=”#dd4b5c” color=”#ffffff”]Makeve Craft Weekend[/highlight] the 22nd and 23rd of June. Stay overnight for a weekend to make six of their lovely kits, and enjoy a lot of good food and good company to boot. More info here.
On May 26, Abi and Kirsty pitched their business at Hay Festival. The judges included Country Living editor Suzy Smith and designer Jan Constantine. No pressure, right? I’d planned to go to Hay Festival and meet them, but couldn’t make it. Instead, you can read about their experience on their blog and keep in touch with them on Twitter.
—
This is part of my new craft kit review series.
I was given these kits for free in return for a review.
Read full disclosure here.


Thank you for sharing! This is the third craft kit service I’ve learned out recently and I’m thrilled! Amazing
Hello Anna! Another fantastic post – I’m really enjoying reading your blog :-) I have nominated you for a Super Sweet Blogger Award! You can find out more by reading my post http://somanycraftssolittletime.com/2013/05/31/super-sweet-blogger-award/ Don’t feel obligated to accept, I just wanted to let you know how much I enjoy your blog! Clare xx