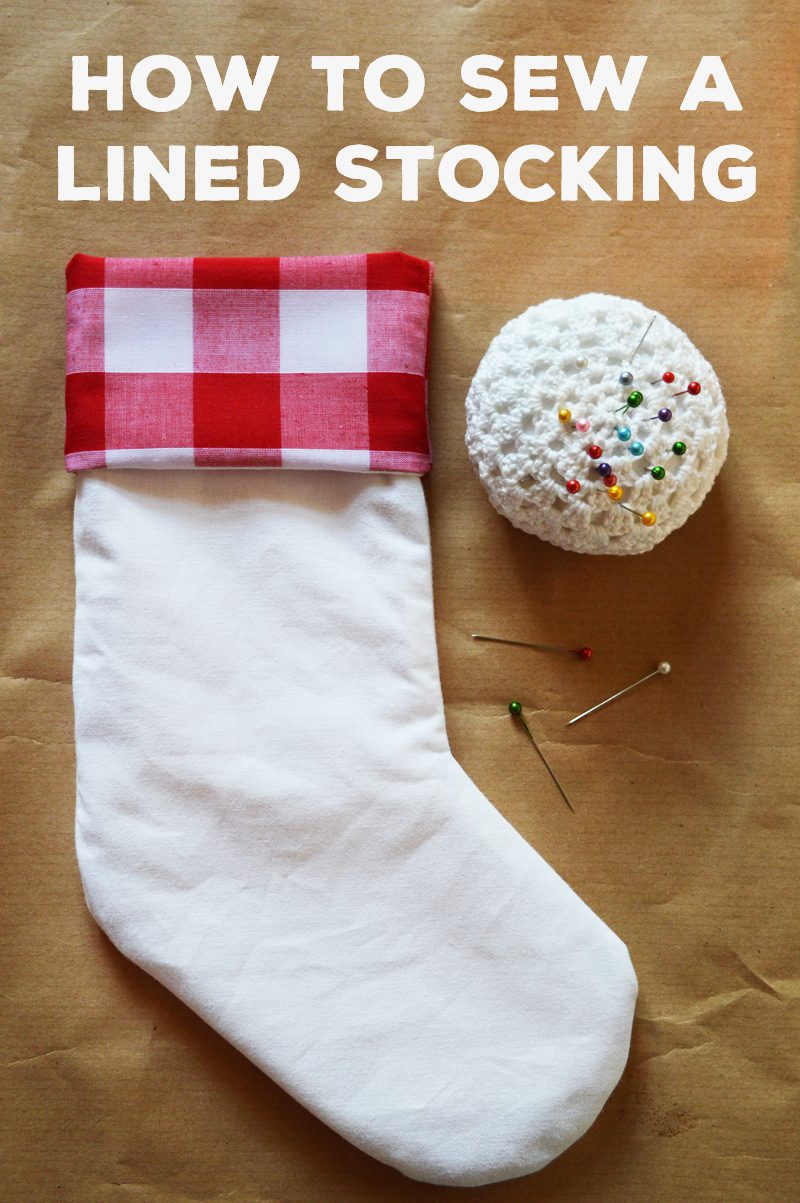
DIY Lined Stocking (Free Pattern)
The closer we get to the holidays the better evenings are holed up in my craft room. Some sewing sounds much nicer than hurrying through busy high street shops.
These lined stockings are simple to sew. Each uses just two fat quarters of fabric so they’re great for stash busting. As a novice I was nervous about the curved seams. Just remember to take it slow, pivot around the needle, and snip the seam allowance.
If you don’t have a stocking pattern, you can use my free printable pattern below!
What you’ll need

- Outer and lining fabric – I’ve used a Fat Quarter (approx 18″ x 22″) of each. Patterned fabrics/nonreversible fabrics might need more
- Pattern (PDF below!)
- Scissors, rotary cutter and cutting mat
- Lots of pins + seam picker (better safe than sorry!)
- Sewing machine + needle and thread (or just needle and thread to hand sew)
- Fabric marking pen
- Iron!
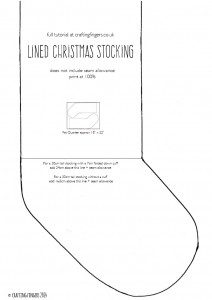
[button url=”http://craftingfingers.co.uk/wp-content/uploads/2014/12/Crafting-Fingers-lined-stocking-pattern.pdf” target=”blank” style=”flat” background=”#398b46″ icon=”icon: star”]Download the printable stocking pattern[/button]
Sewing the Stocking
My stockings have been put together using the same basic steps as my lined tote bag tutorial. If you’re not ready for curved seams, a lined bag is perfect for learning this technique!
First, transfer the pattern to your fabric. Cut two for the lining and pin right sides together.
Repeat for the outer fabric.
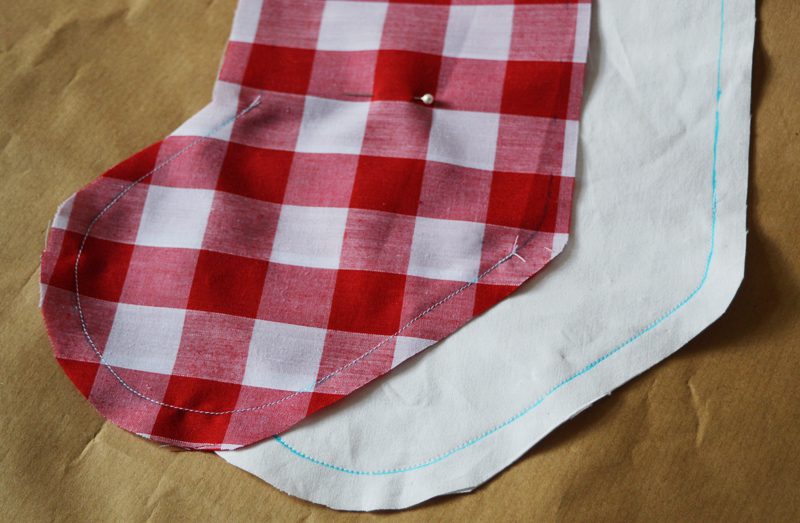
After cutting and pinning, I sewed the foot of both fabrics. This is the most fiddly bit of sewing and it’s easiest to do before piecing the two fabrics together.
Go as slowly as you need to when you sew the curve. I used fabric marker to clearly trace the entire foot shape so it was easy to follow the line with the machine.
When you need to adjust the fabric, stop when the needle is in the fabric; pick up the foot, and pivot the fabric as you need to.
Just remember to put the foot back down before you continue sewing!
Iron once your seams are finished.
(You might notice your fabric is fraying. This is fine; the seam allowance won’t be exposed in the final piece.)
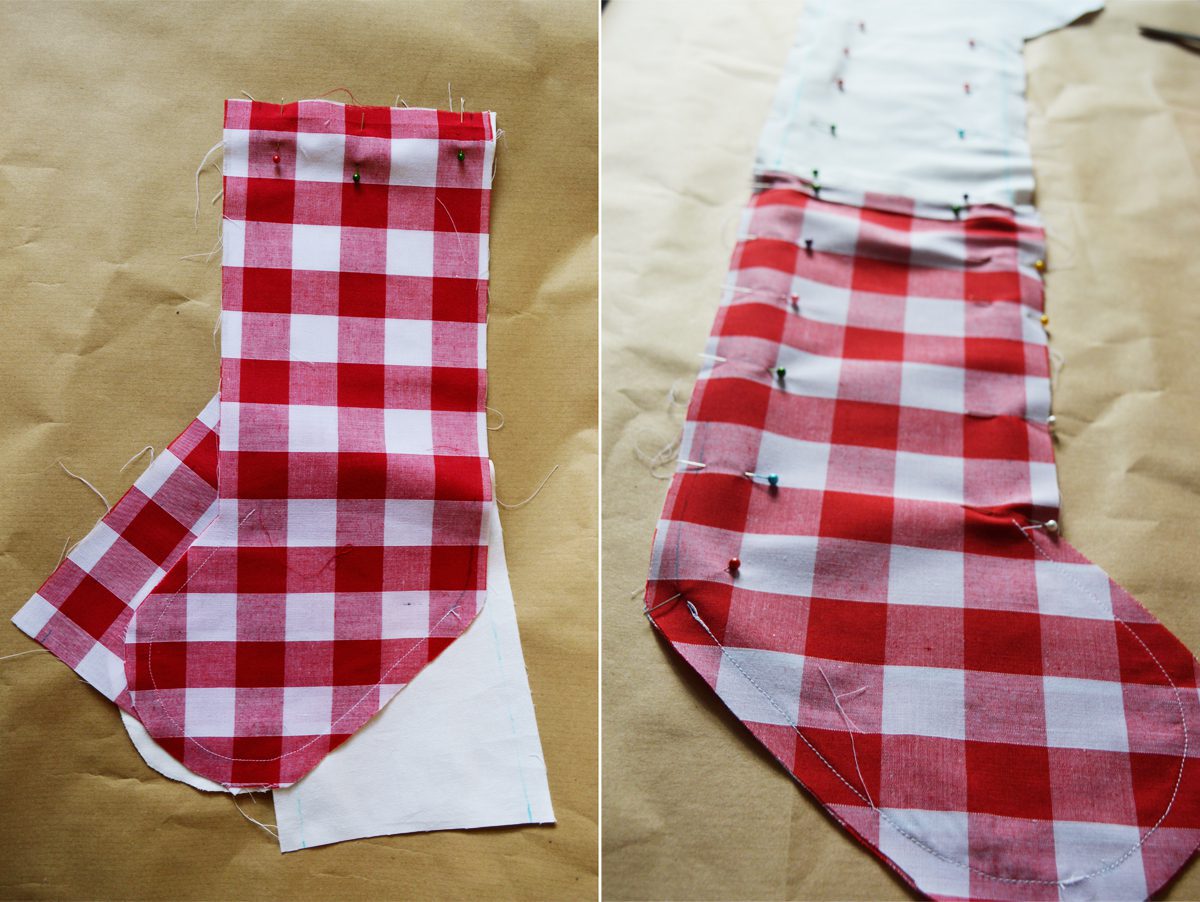
Time to piece together the tops! With right sides together, pin one layer of the outer and one layer of the liner together. (As seen above left.) Sew.
Press the seam open to lay flat, then pin and sew the tops of the other side together. Again, press the seam flat.
Lay out the stocking as seen above right. Line the top seams up in the middle and pin the layers together. I like to iron after pining the top seams before pinning the rest.
Sew, leaving a gap in the liner about 2″ long to turn the fabric.
[box title=”What’s the difference between pressing and ironing?” box_color=”#b00019″ title_color=”#ffffff” radius=”2″]
Sometimes people use the terms interchangeably, but there is a difference.
Pressing vs Ironing | The Sewing Loft[/box]
Before turning the stocking right side out, trim the seam allowance until it’s about a quarter inch wide. Snip the allowance every 1cm around the curve.
Remove any fabric marker or chalk.
Turn through the gap, iron, and whip stitch the gap shut. Use a blunt tool like a capped pen to push the liner into the outer fabric and push out the curved seams. Iron one last time, fold down the top to make a cuff, and you’re done!
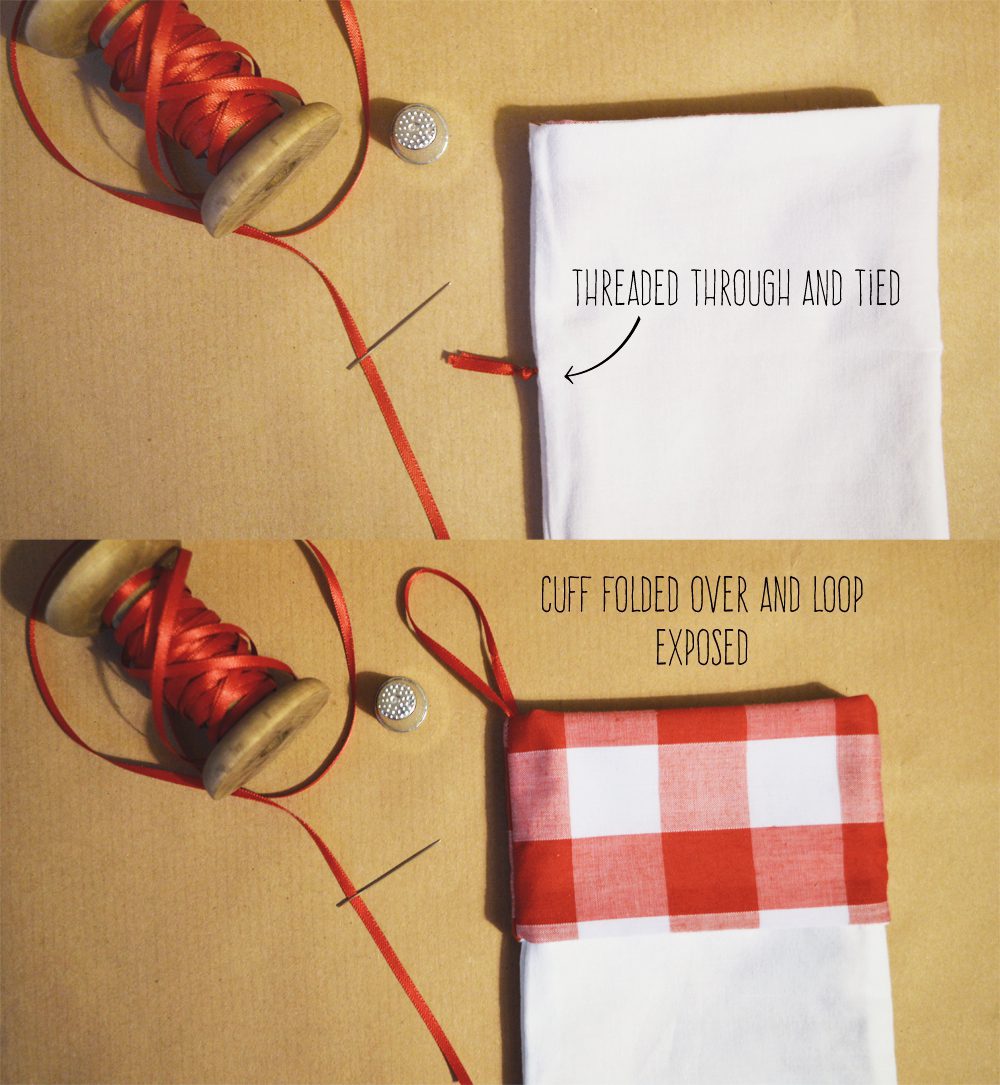
To hang the stocking, I simply threaded a loop of ribbon through the layers and knotted it under the cuff where it won’t be seen. Easy!
Now all that’s left is filling them! What’s left on your holiday ‘to make’ list?
Lots of festive, crafty love –
![]()


Love your cute stocking! Thanks for sharing! =)
I compared the size to the one you sent from MN – it’s pretty much the same! Funny how things like that still influence us when we’re older. :)