Needle felting 101 | How to needle felt any shape
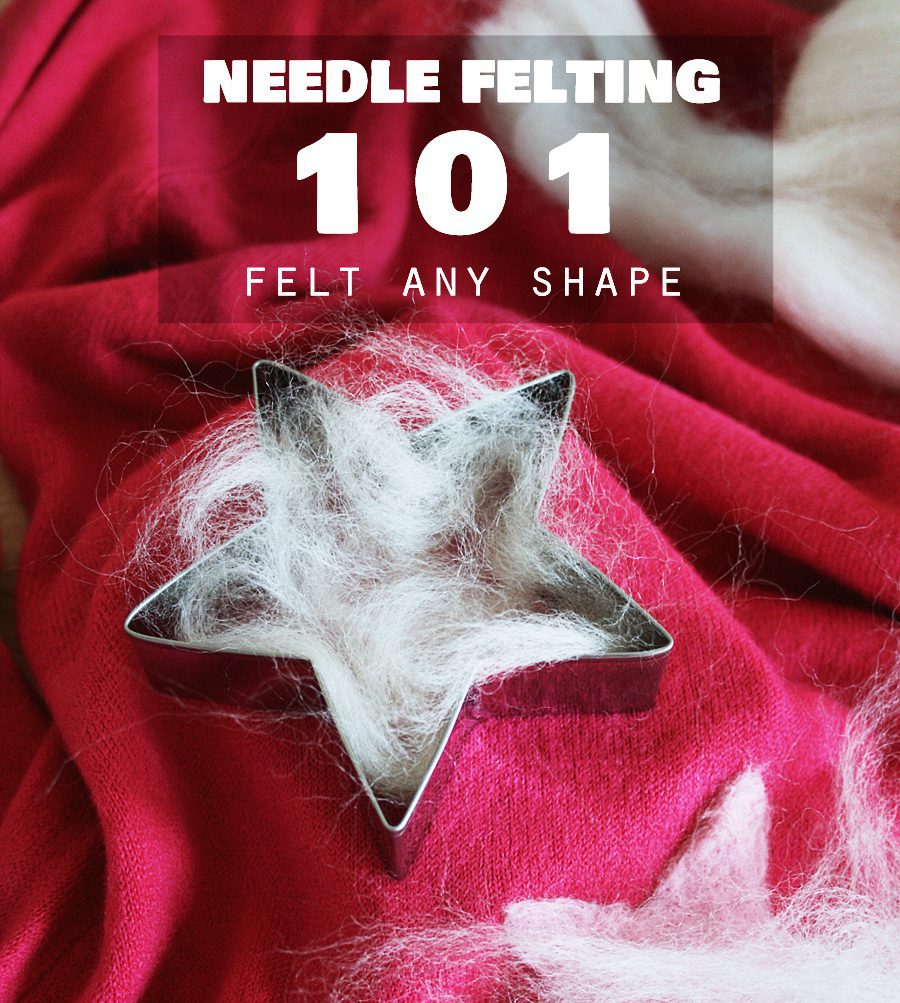
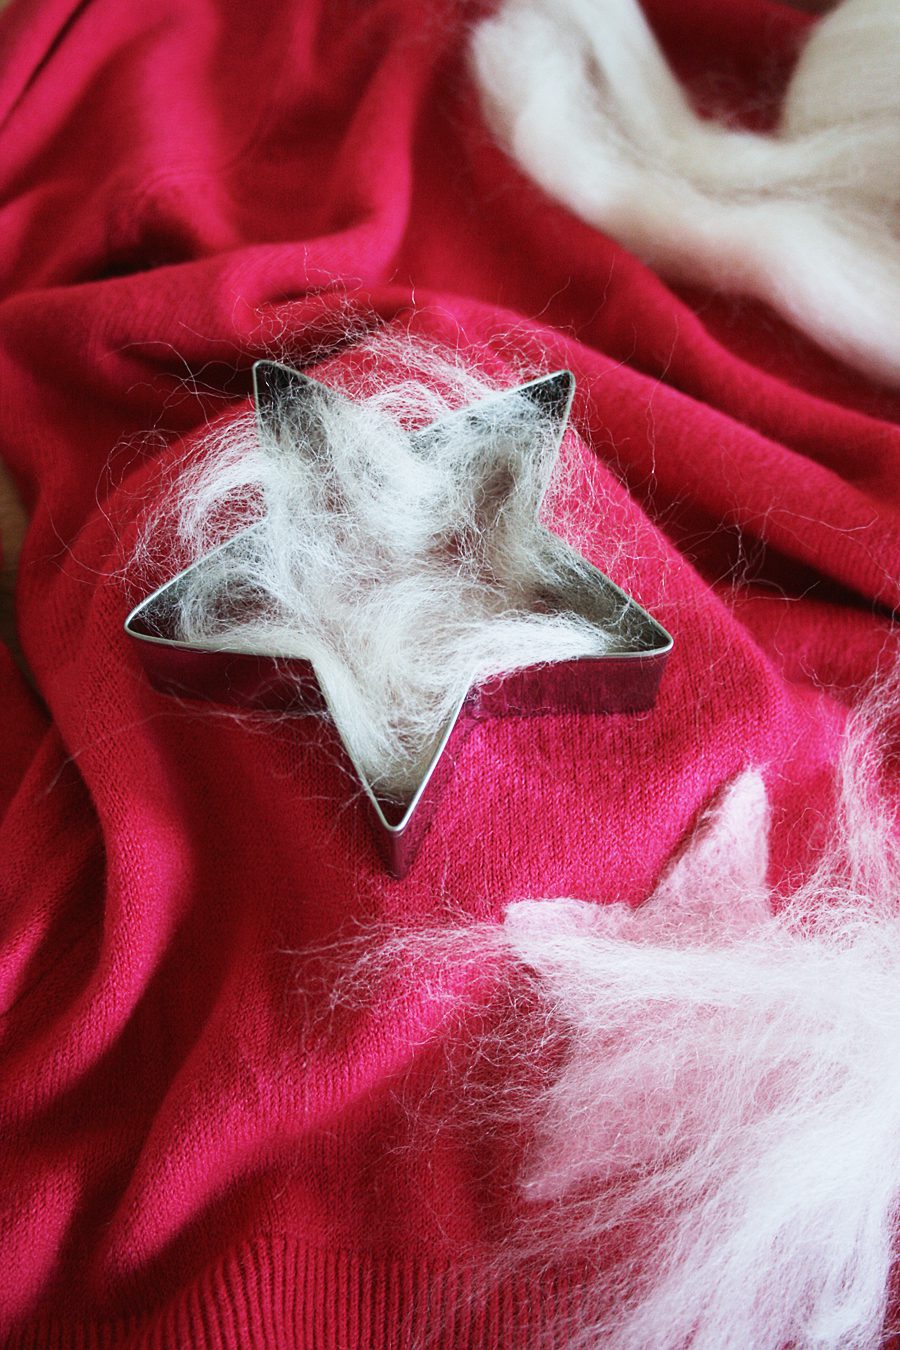
When I learned to needle felt, I tried the simple (but very impractical) technique of using a cookie cutter as a template. A cookie cutter template (literally) sounds good on paper. It turns out it’s hard to tell how thick the felt is or how defined the edges are.
If you do want to use a cookie cutter, make sure it’s a shallow one. ;)
I thought I’d some tips on how to needle felt whatever shape you like. Cookie cutters optional!
Copying a pattern
If you want to use a template instead of a cookie cutter, use a fabric marker or pencil to trace the design. This is what I do:
- Trace the template (or freehand a design) onto the surface I’m decorating.
- Use a damp cloth to remove most of the pen/pencil so it’s barely visible.
- As I’m needle felting, I’ll use a damp cloth to remove more pen and pencil as I go.
If you’re felting through the outline it can be difficult to remove later, so I like to get as much off as possible beforehand! You should test fabric marker on a felted area to see how difficult it’ll be to remove from the finished work.
How to start needle felting
Materials:
- Felting needles
- Felting foam block or brush mat
- Wool roving
- Wool fabric or felt to decorate
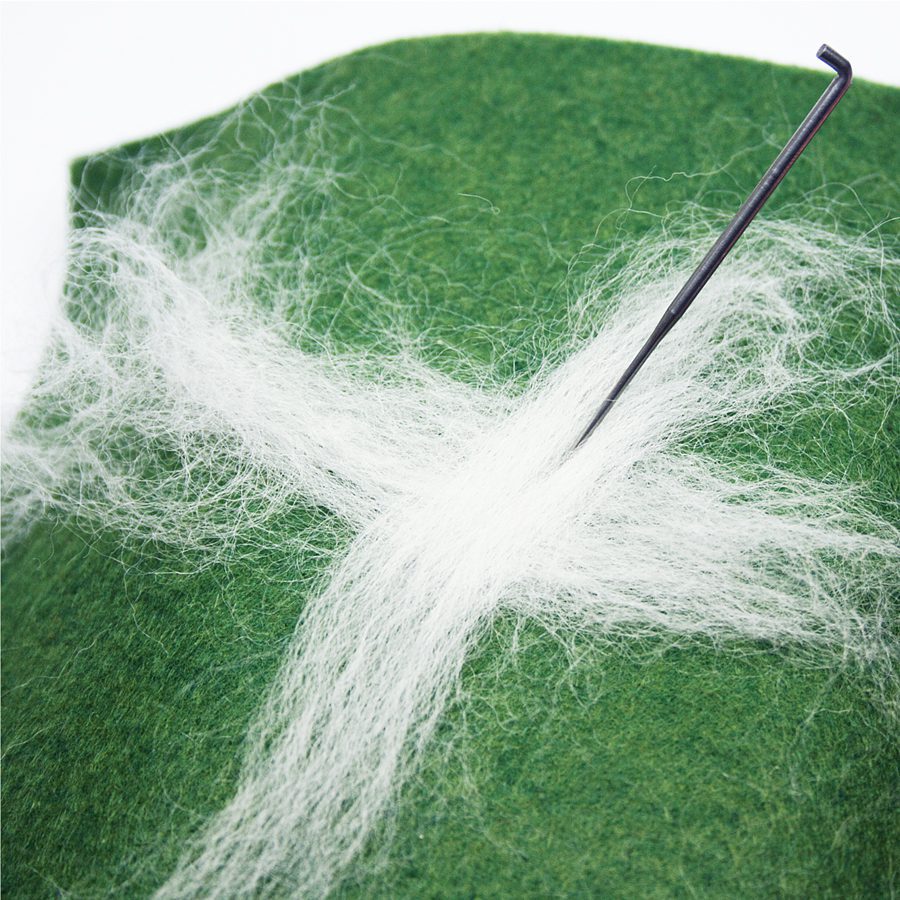
1. Place your work on top of the foam or brush block. Criss cross small strips of wool roving onto the area you want to felt. This’ll make it easier for the fibres to stick together. Be careful not to bend the felting needle as it can snap easily. Felt by pushing the needle straight down and pulling straight back up.
2. I find it easier to felt from the outline inward, especially for sharp points. Define as you go!
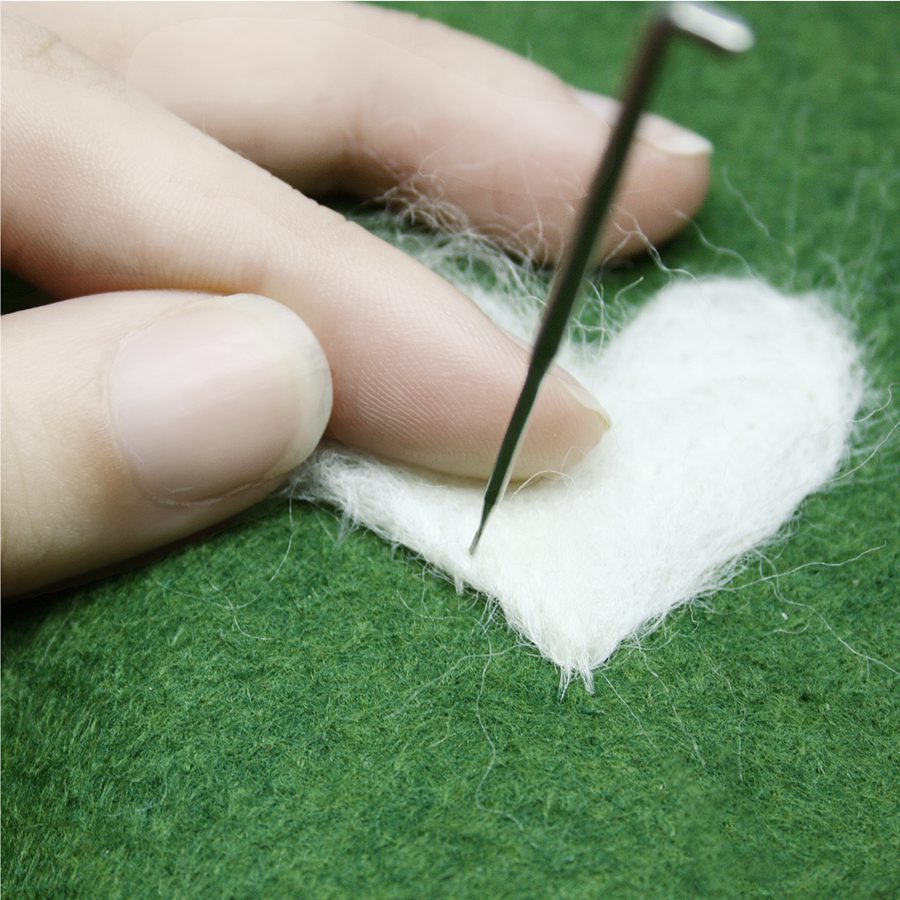
3. If the outline isn’t as straight as you want it to be, you can gently pull the fibres back in line and hold them in place while felting.
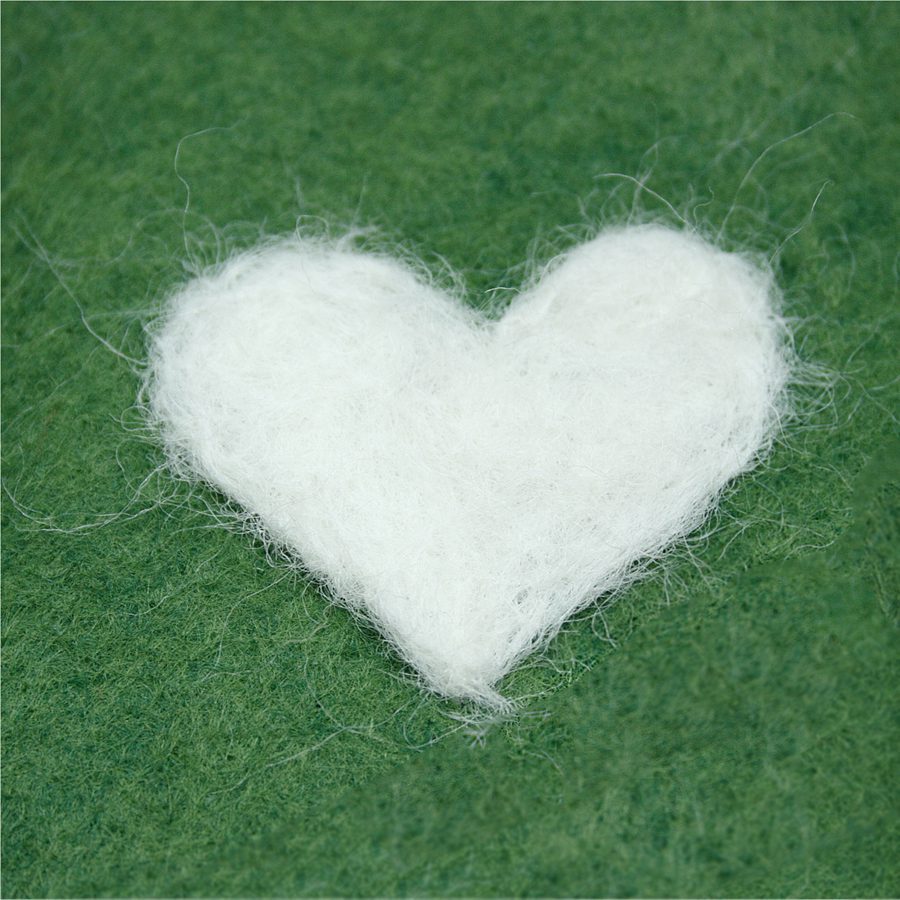
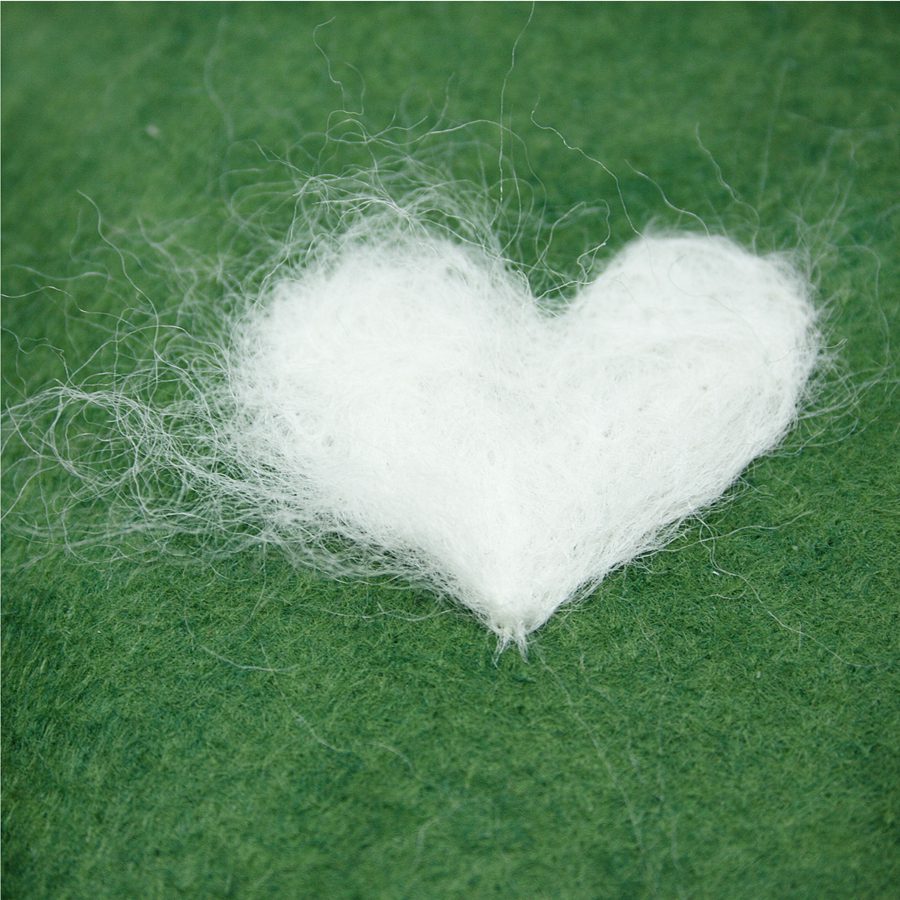
4. Keep adding smaller and smaller strips of roving until your shape is well-defined and a couple millimetres thick. It’s OK if it looks fuzzy. We’ll fix that:
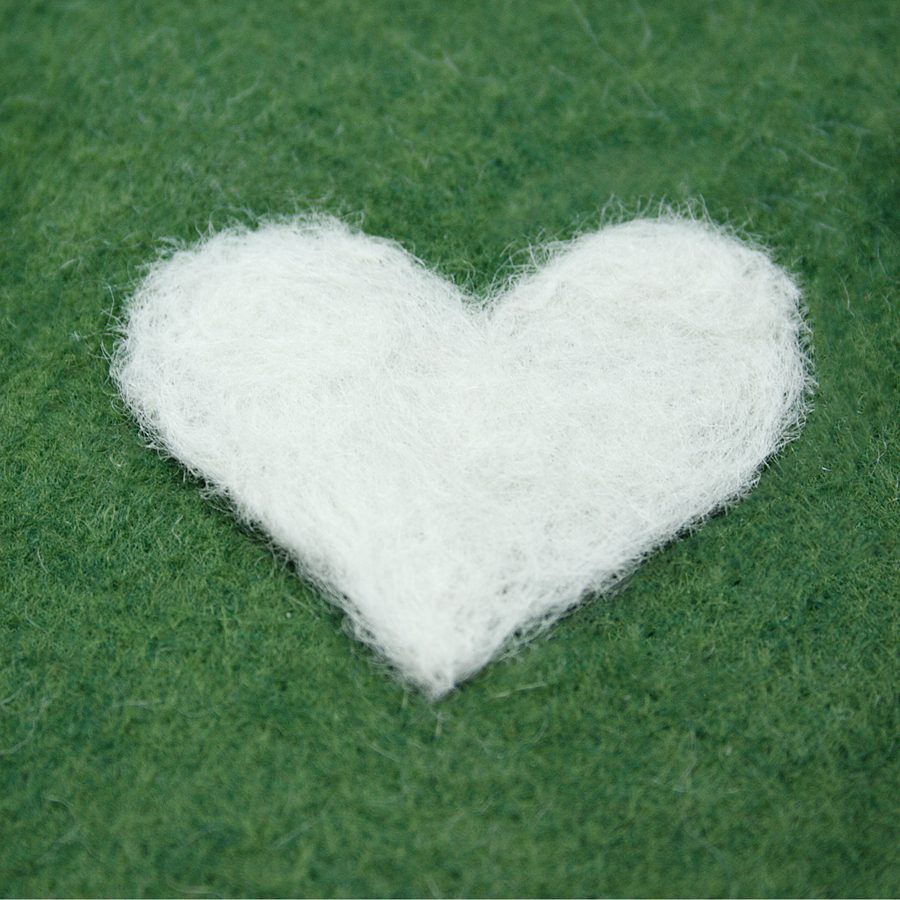
5. Use sharp scissors to trim the edges. Sometimes I use an iron on wool setting at this stage for an even flatter finish!
From the back, the fibres have been pushed through the fabric. This can be trimmed away so the fabric is flat again.
Really, it is that simple. Who needs a cookie cutter?
Simple felted shapes like this are perfect for elbow patches or decorating woollen mittens! I have plans to make some spring-themed bunting.
What crafts techniques are you eager to try this year?
Lots of crafty love,
![]()


Absolutely cute!!
Thanks for the clear instructions. I am just beginning to needle felt and I love the possibilities!
These are great tips on how to needle felt shapes well. I feel like needle felting is growing in popularity lately. I think that by learning how to create basic shapes, people can learn how to do a lot of interesting designs.