Tutorial: Easy spring wall art
Remember how I said five minute crafts don’t exist?
This project comes pretty close to proving me wrong.
Paper has always been my favourite crafting material, and paper cuts and silhouettes are my favourite way of putting it to use. It’s affordable, fun to experiment with, and there’s so much you can make with paper.
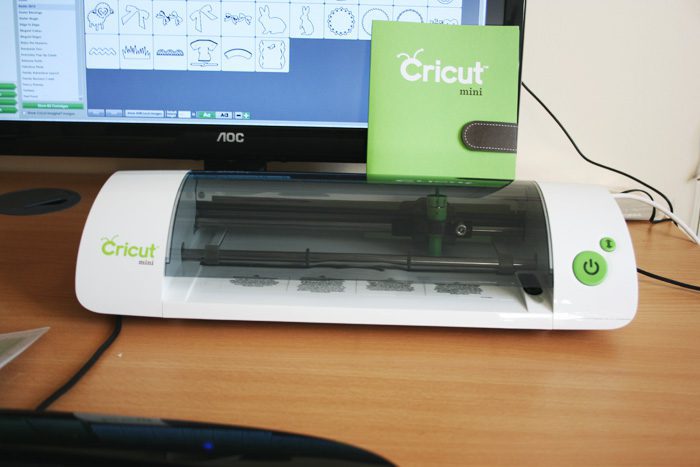
And now, I’ve been playing with a new tool to cut through my paper stash. (Literally.) This Cricut Mini is a new addition to my craft office:
 Disclosure: I was given this Circut Mini to review. Opinions are my own.
If I’m honest, I’ve always been a simple hobby knife and craft scissors type of girl. An automatic cutting tool was foreign to me. (I hadn’t even used a friend’s.)
Even without any experience, I got the Mini unboxed and set up within a few minutes.
Hop Into Spring Tutorial
But what to make first? This bright and easy project uses the paper that comes in the box, so you can make it right away and pick whatever silhouette you’d like. I’m feeling seasonal with the nice weather we’ve been having!
(And if you don’t have a Cricut, you can still follow this tutorial too!)

What you’ll need:
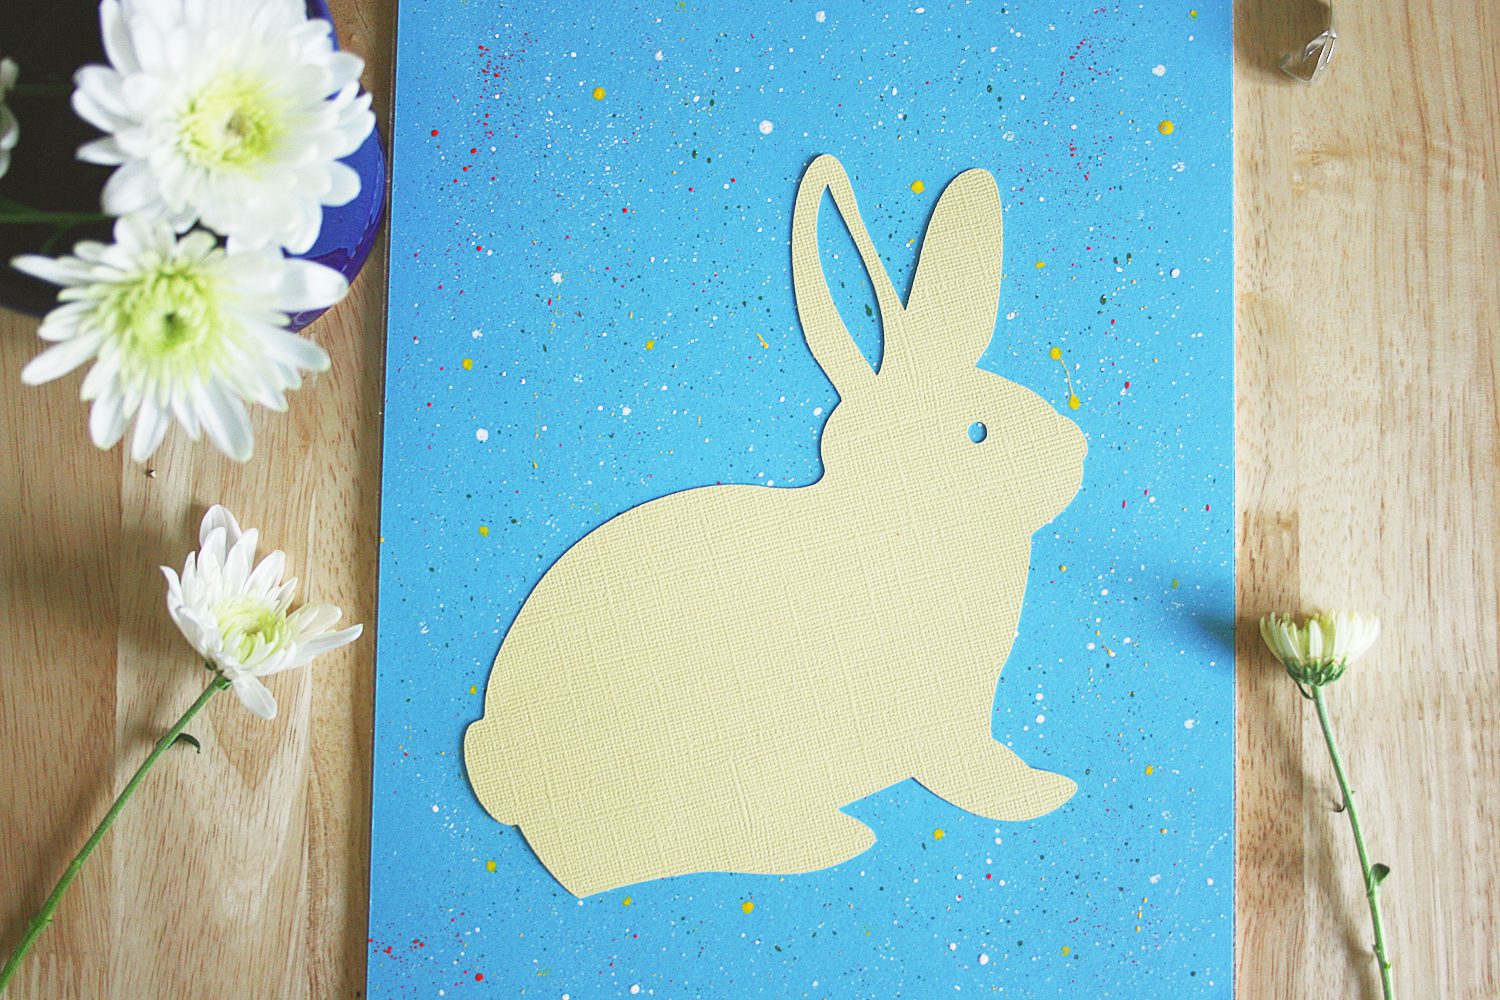
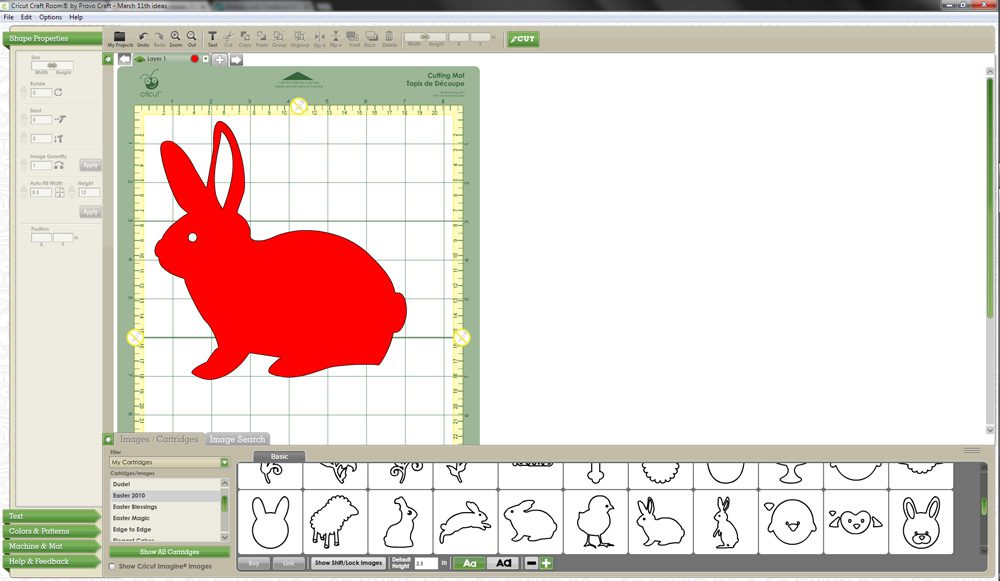
- Bunny from Cricut Mini ‘Easter 2010’ (or your chosen design) cut out and ready to use
(No Cricut? Use a hobby knife and a template) - Sheet of blue A4 heavyweight paper, glue, and A4 clip frame
- Hobby paint (I’m using grass green, yellow, hot orange, and white)
- Fairly stuff paintbrush
- Pin, needle or thin nail
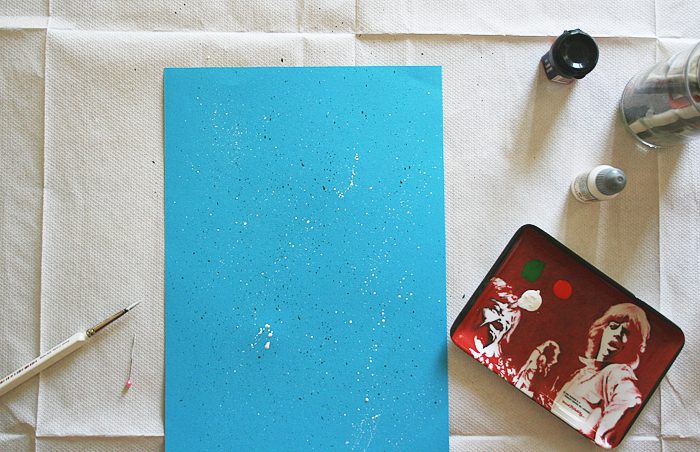
With your silhouette safely out of the way, start splattering your A4 background sheet with paint. Flick the brush against the pin for the most efficient splatter. You can use your finger but quite a lot of paint will get on your hand!
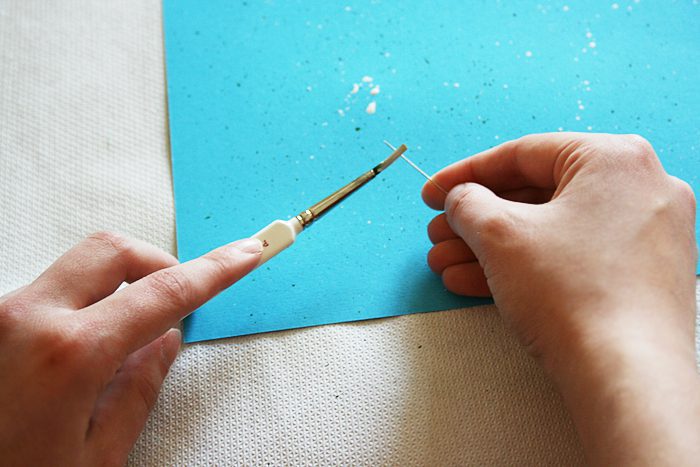
Where you point your brush is where most of the paint will go. Hold the brush downwards, like you would a pen, an inch or two above the paper. The higher the brush, the bigger the spread.
Wash off the brush between colours and just keep on flicking!
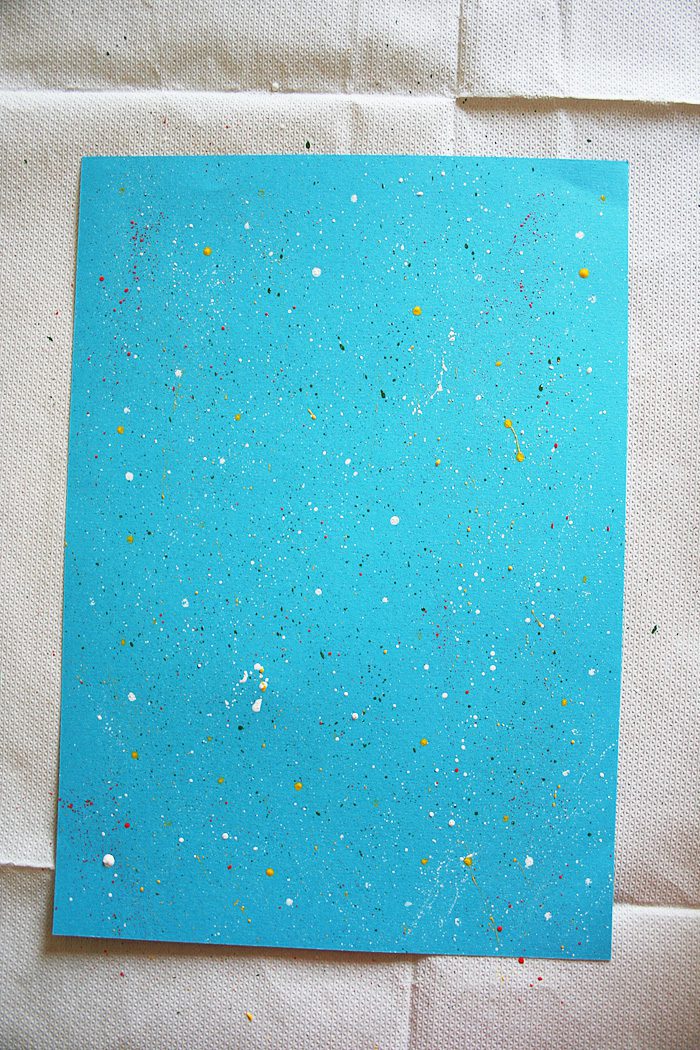
Some crazy splatter action later, your sheet will look something like this and be one of a kind.
Let paint dry, then glue on the yellow bunny. Clip into the frame, and you’re done. Voila!
The paint and clean up takes maybe 10 minutes, and the Cricut whizzes through this design in a second (seriously). See what I mean about that 5 minute claim?
The Verdict
After a couple months of using the machine, I haven’t had to replace the blade or cutting mat. But you can see impressions of each cut on the mat, and as it is sticky it needs to be stored properly and replaced every so often. So far so good, though.
The design program ‘Cricut Craft Room’ is a bit clunky but the basic functions (saving projects, browsing designs, and placing designs) are straightforward.
| Cricut Mini pros & cons | |
|---|---|
| Pros | Cons |
|
|
Overall, the Mini is definitely a permanent addition to my tool-set.
I’d love to hear your general thoughts on crafting machines in general! Yea or nay?
xo,
![]()


The bunny art is so cute! I really want a Cricut… Maybe someday! =)