Modern Shelf Makeover with Rust-Oleum
In collaboration with Rust-Oleum
Our front room has had a rethink. I’d call it a makeover, but mostly it’s just been a lot of rearranging furniture.
I did need a new shelf. So when I was offered the chance to try some new shades of Rust-Oleum’s chalky finish Furniture Paint I just had to take up the offer. A bit of interior DIY was just what the room needed!
Here’s how I used Rust-Oleum Furniture Paint to make a scratched old shelf look modern again.
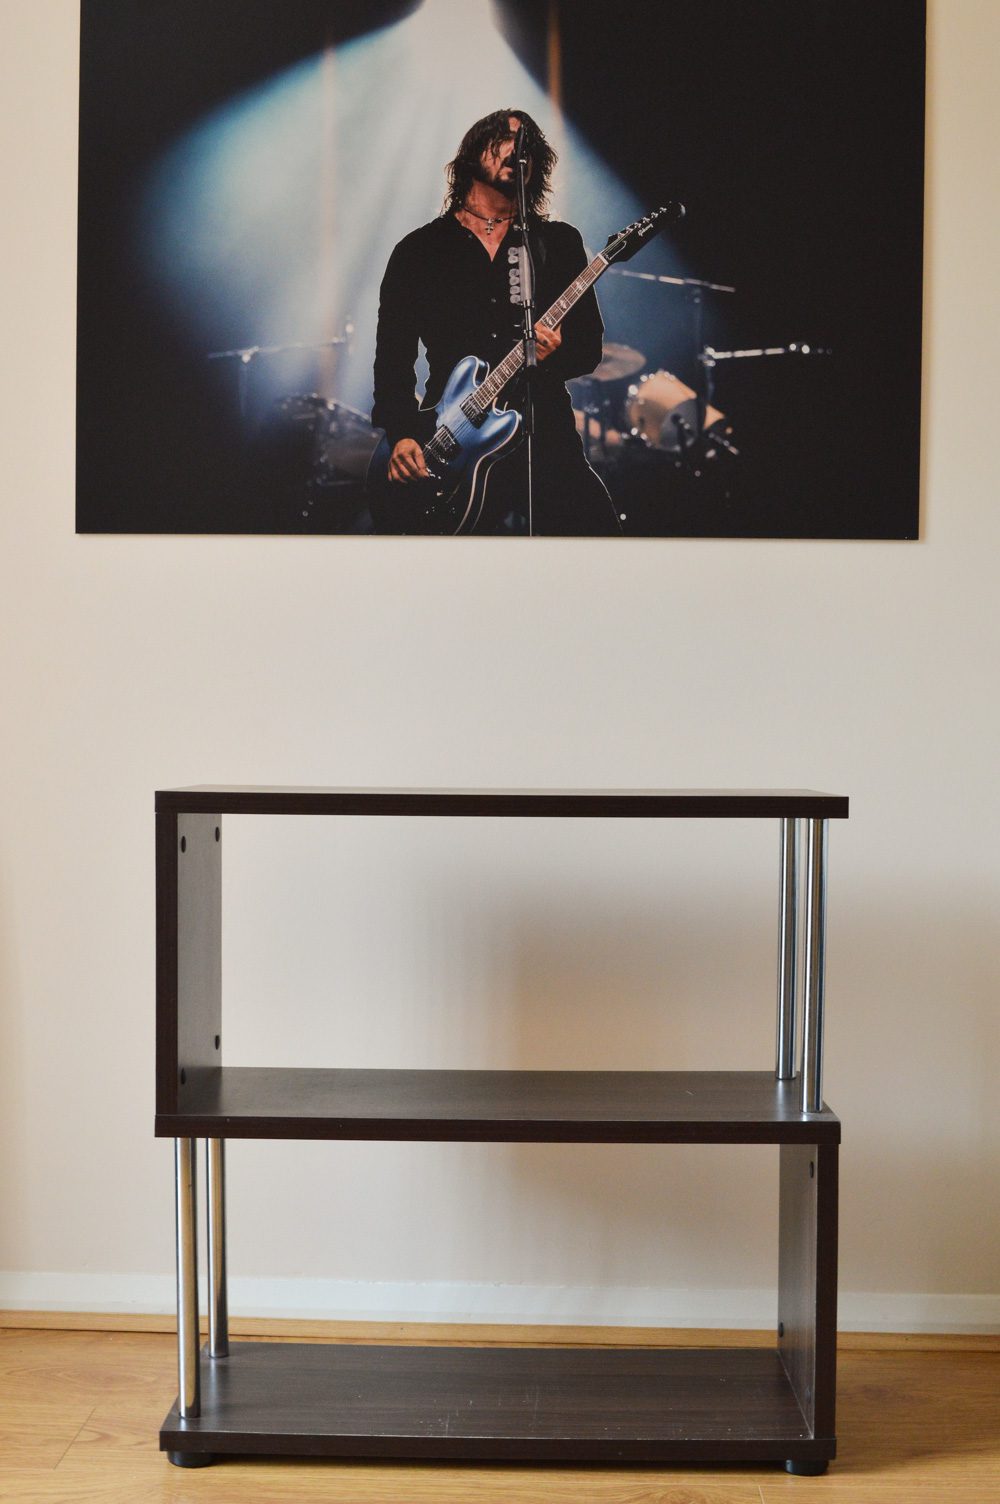
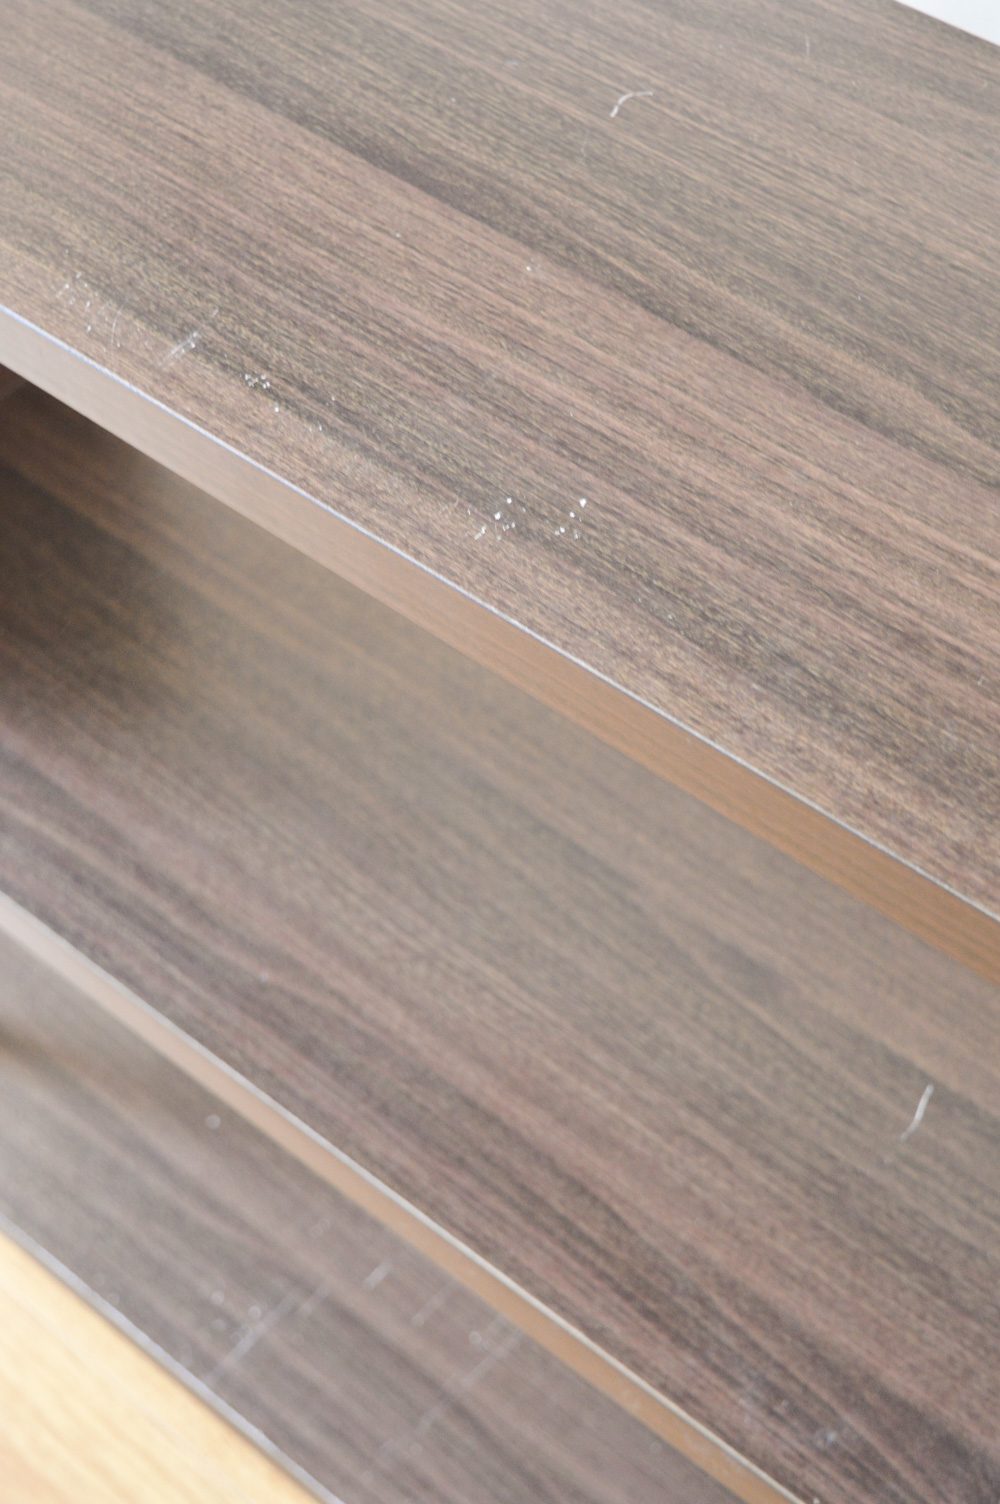
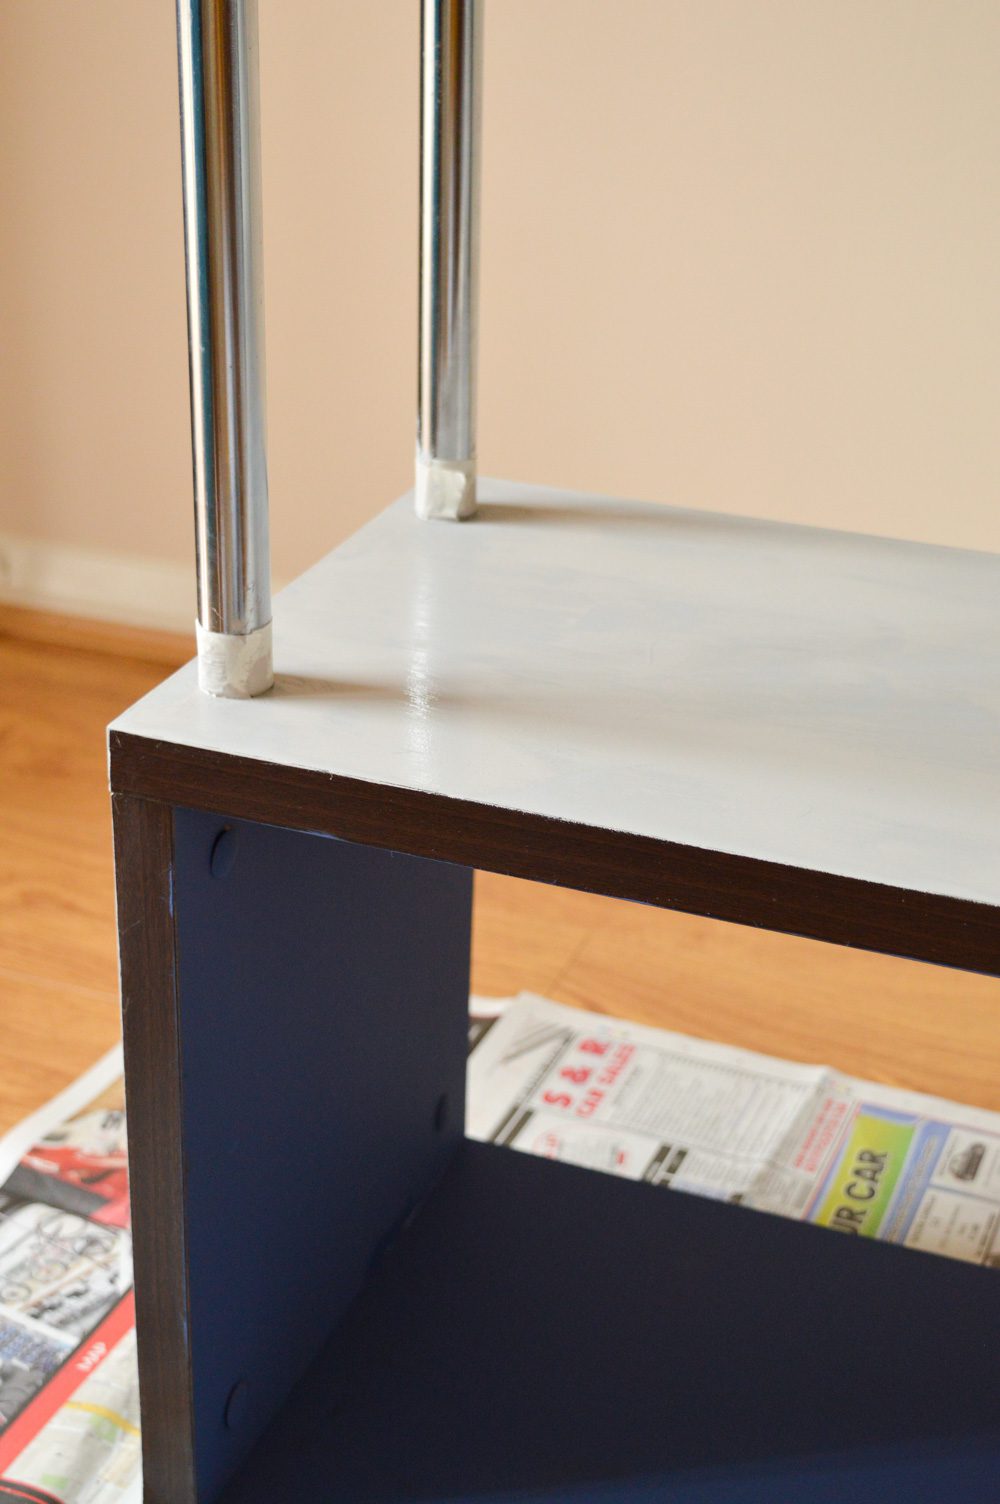
Above: the shelf before painting
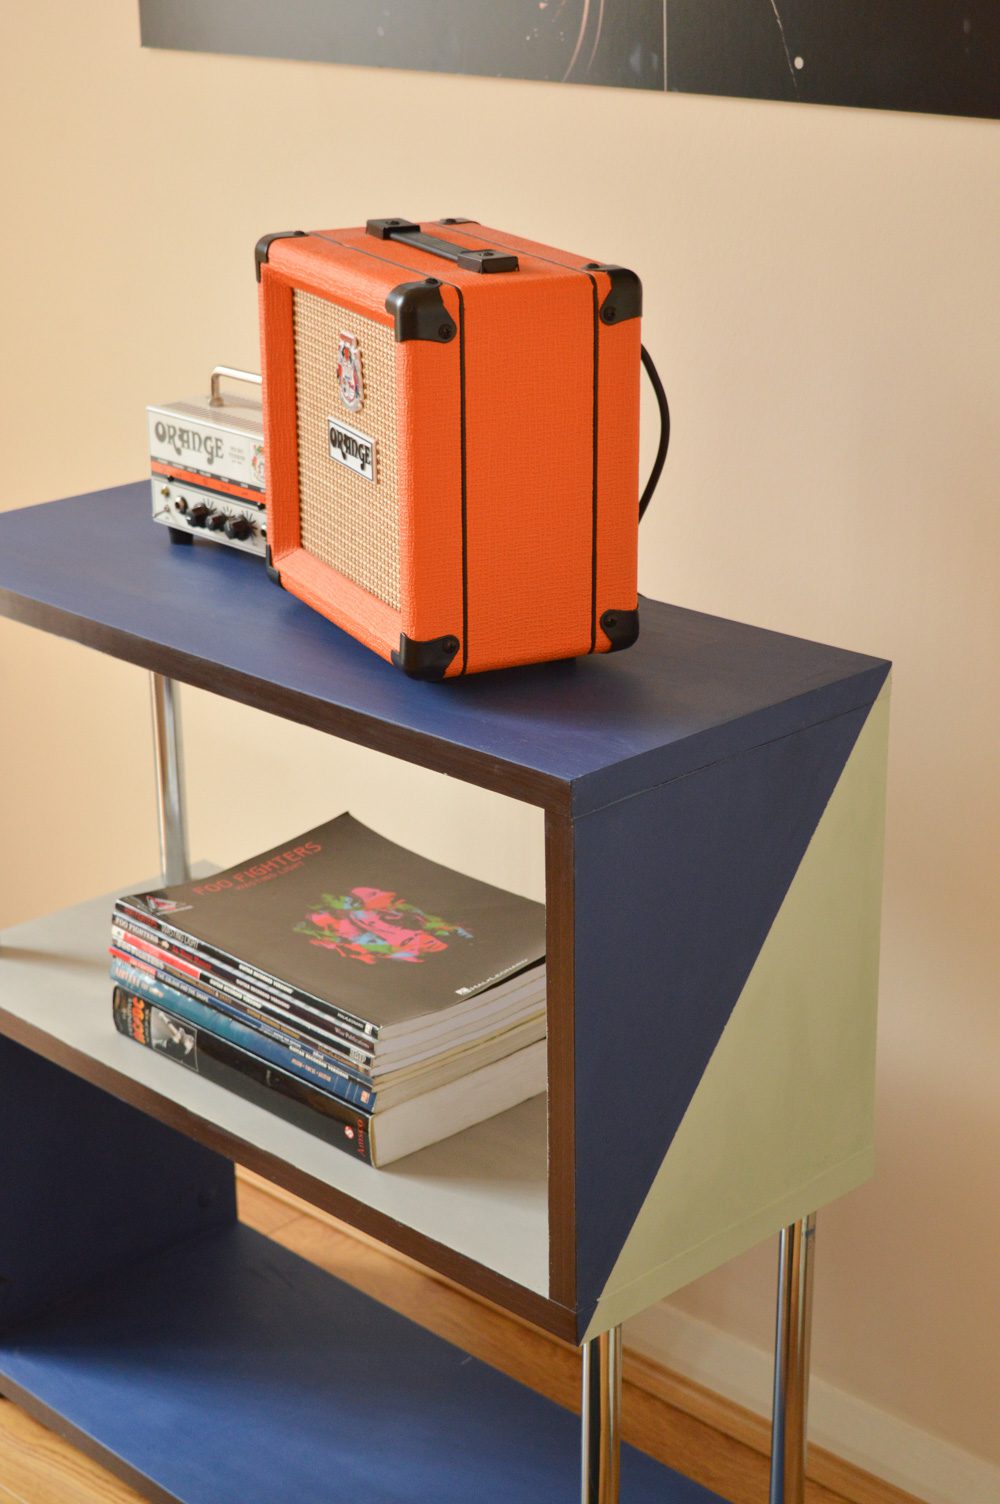
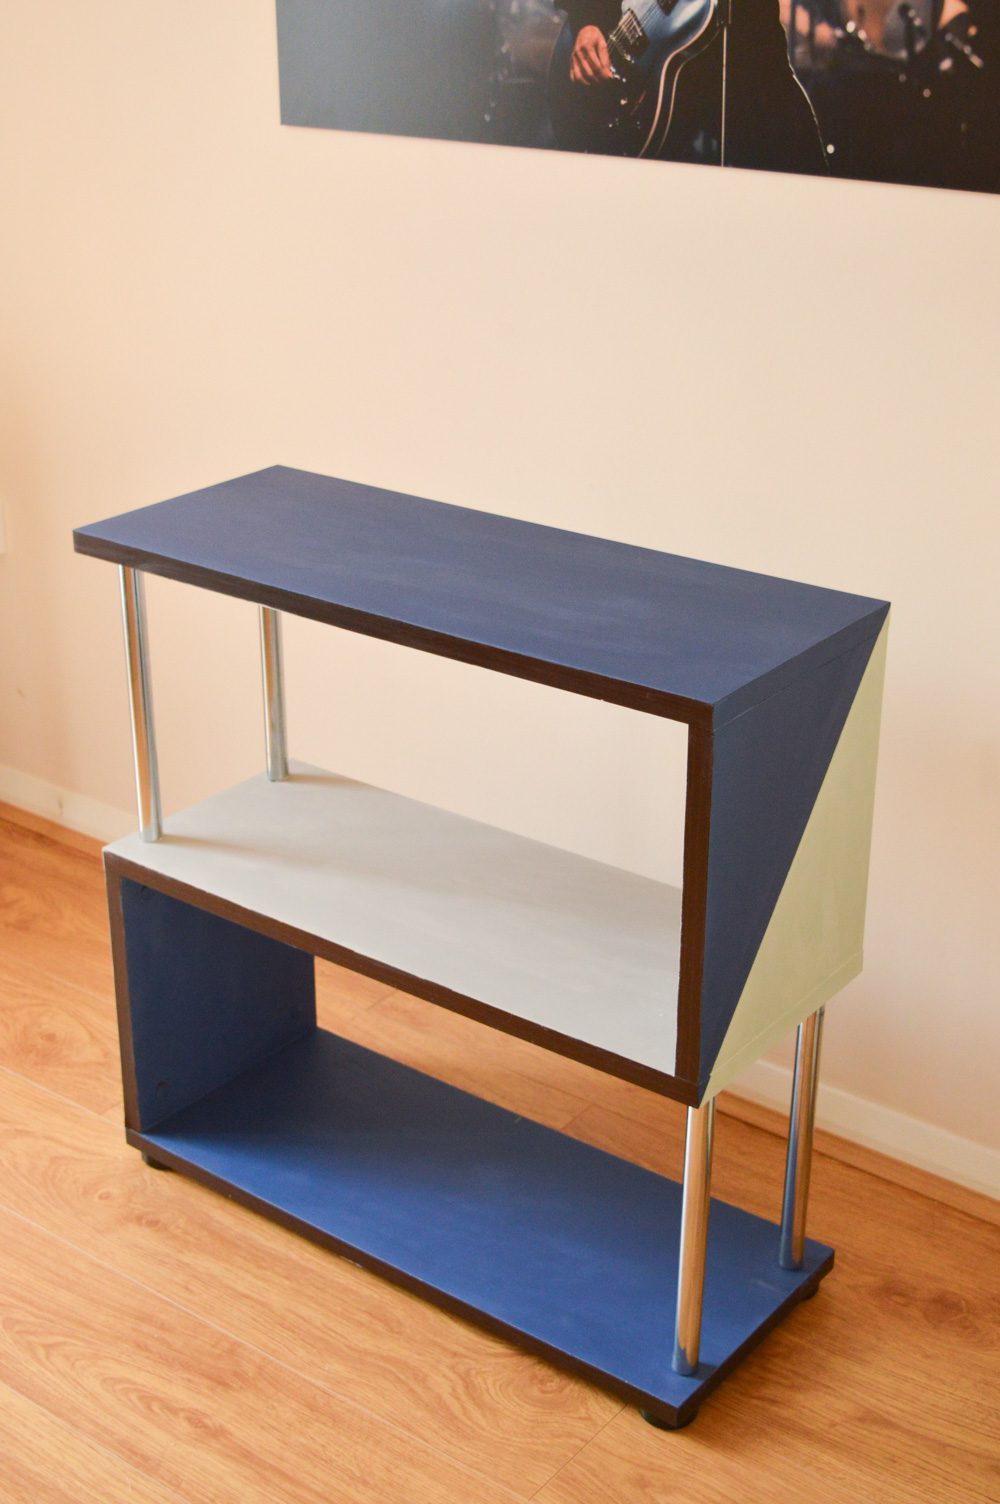
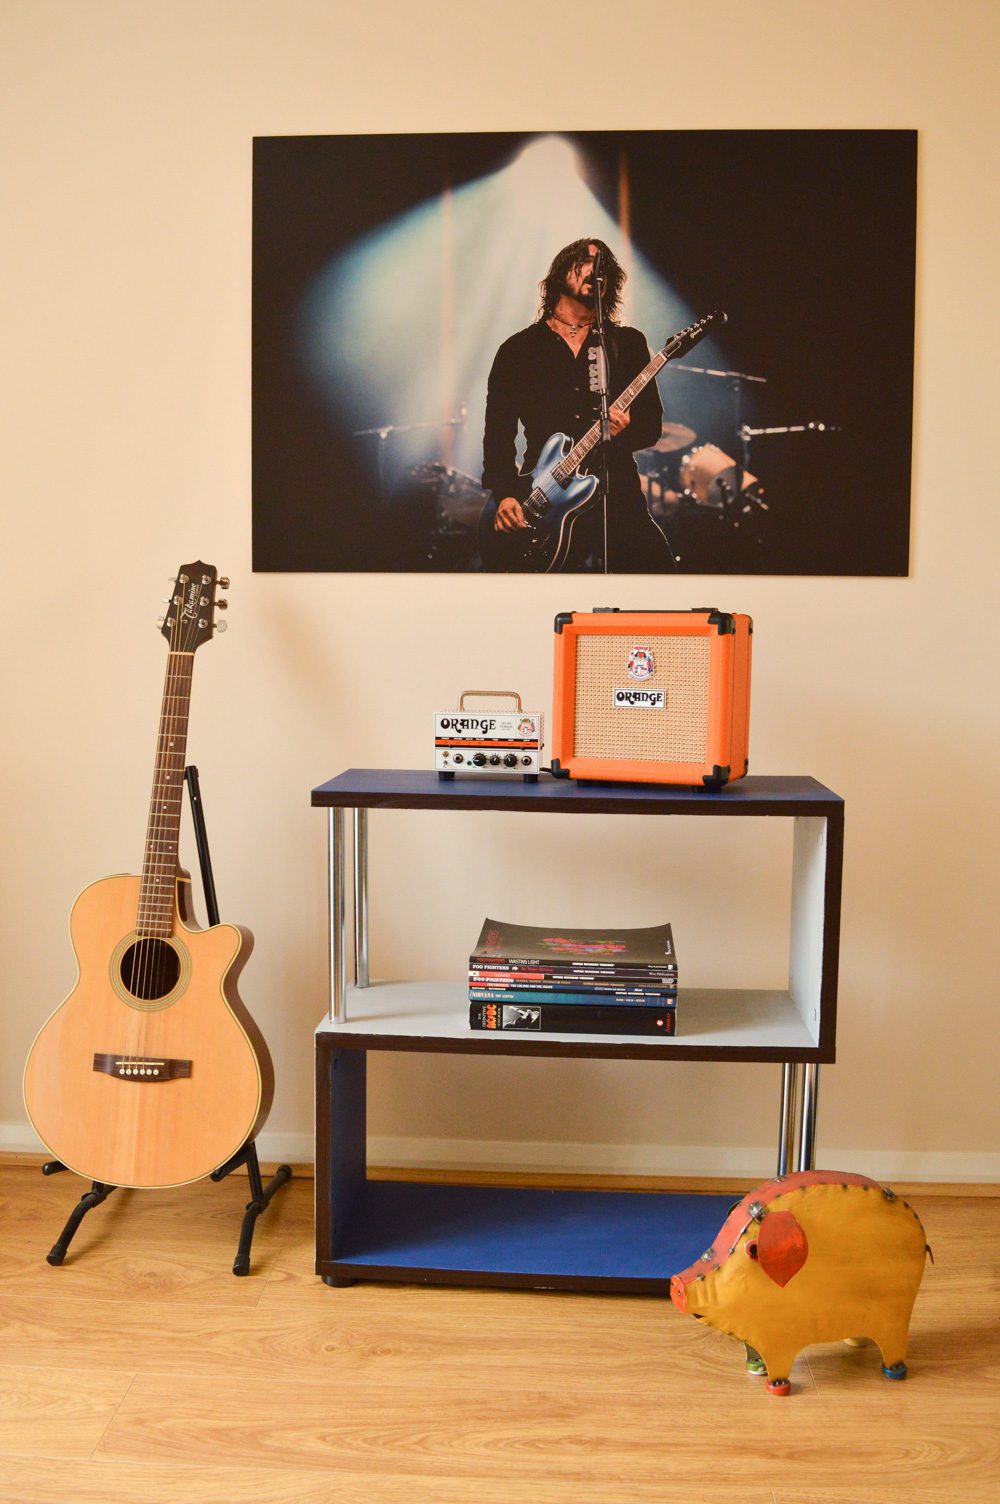
Below: After Rust-Oleum Furniture Paint
I chose this shelf as I love the chrome bars and geometric shape. All it needed was some TLC to cover up the scratches and wear.
The chalky finish Furniture Paint is really hands on. No sanding or priming required – you can get straight to the fun bit! To prepare the shelf all I had to do was clean the surface and let it dry.
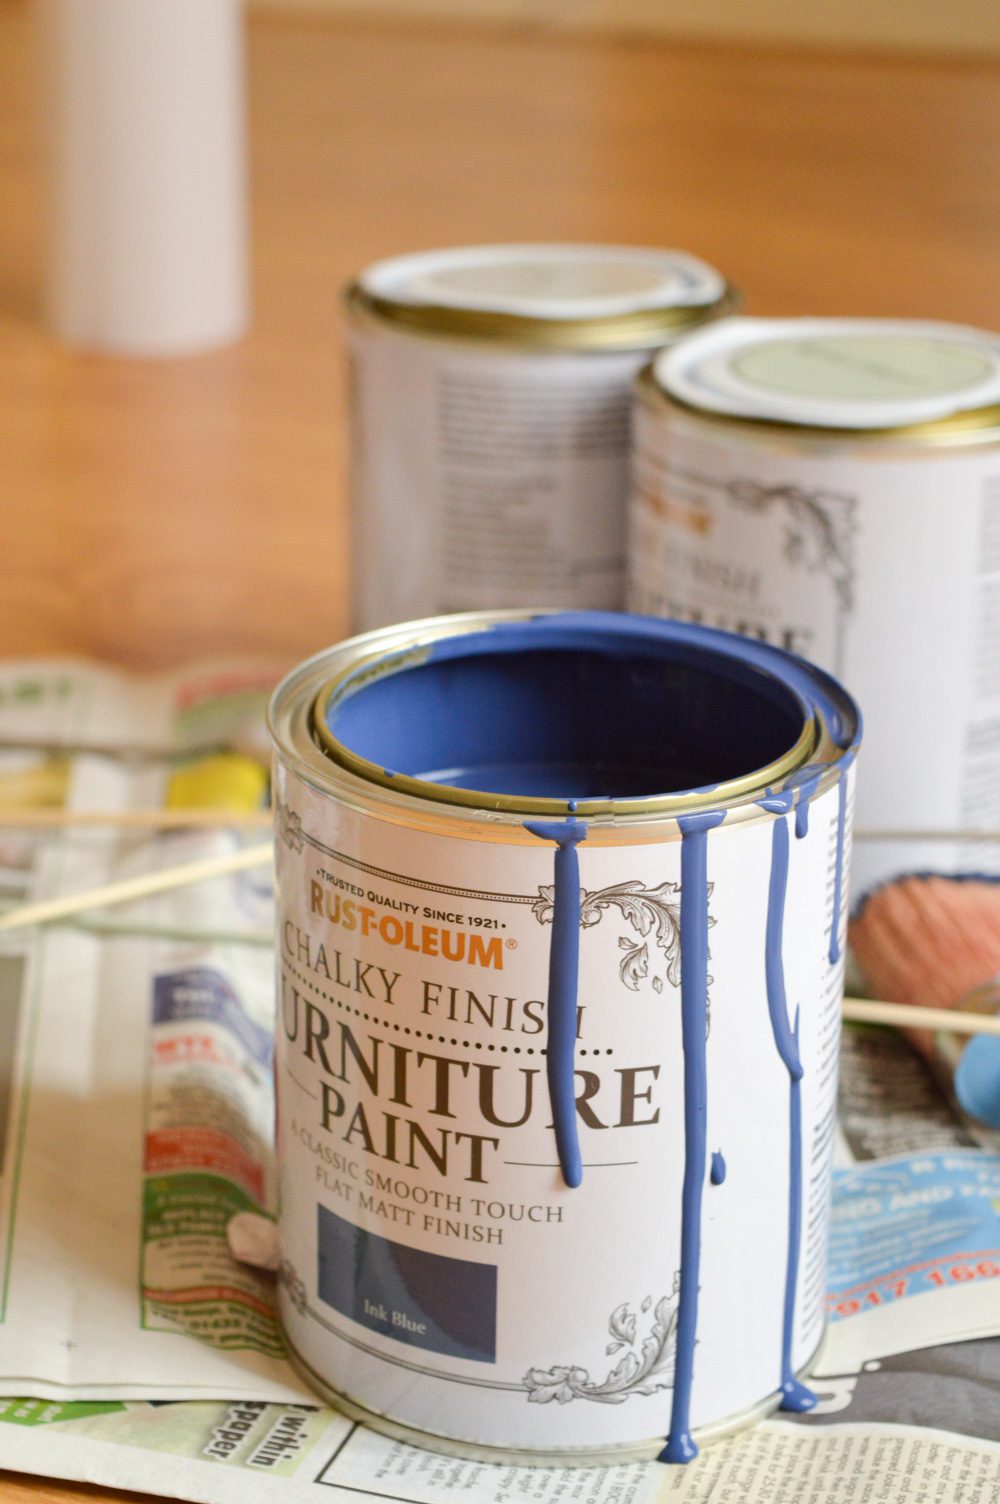
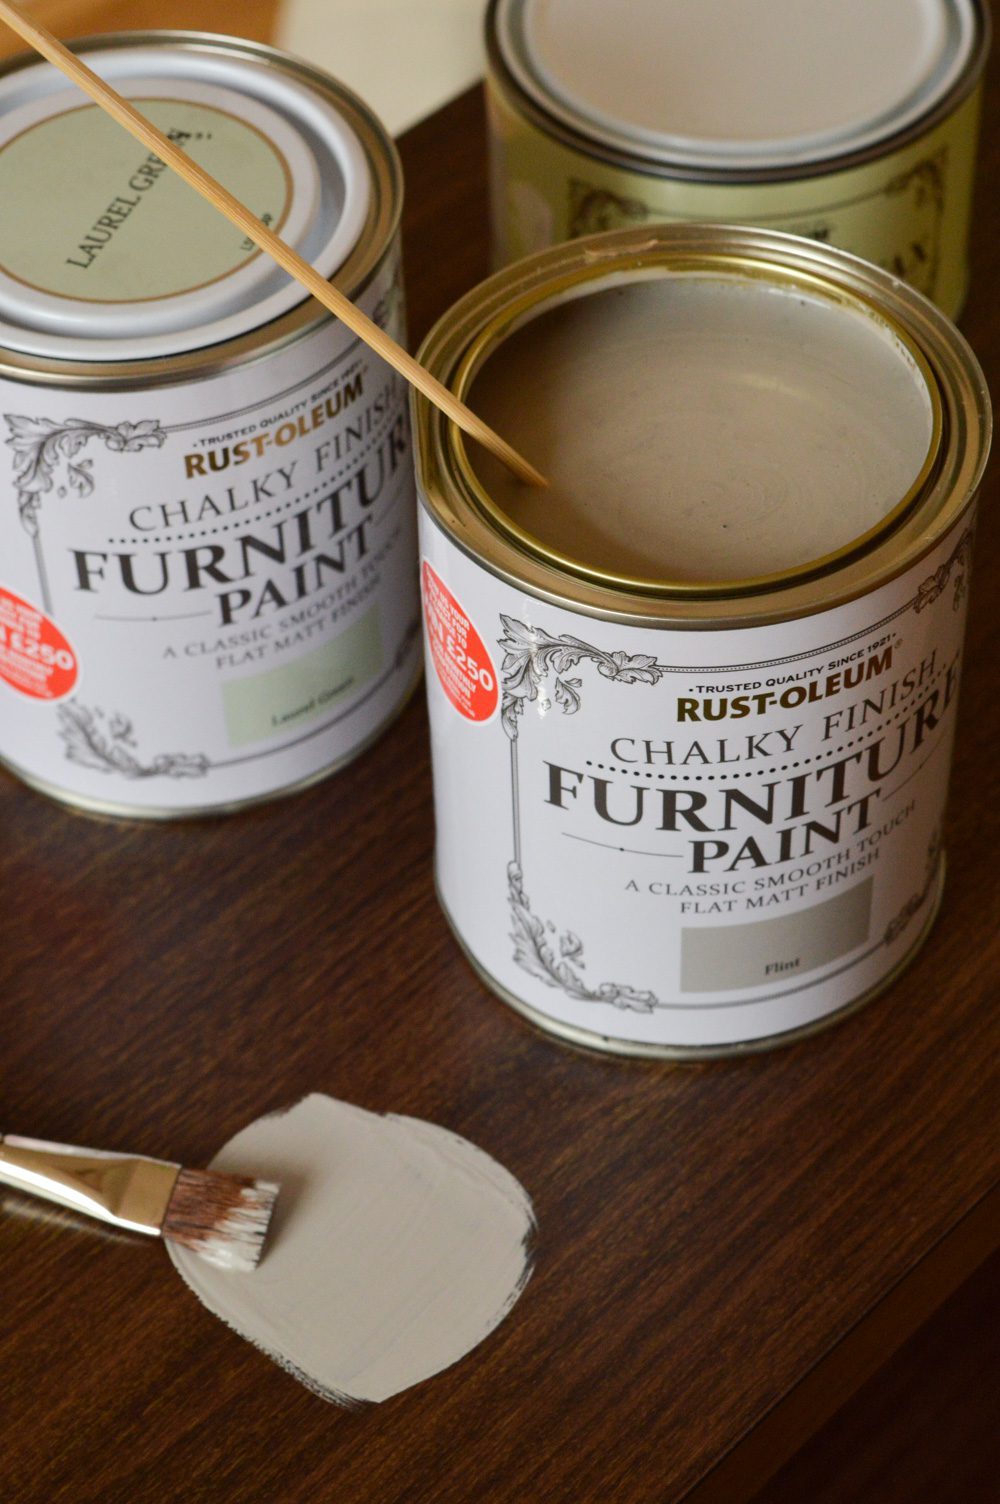
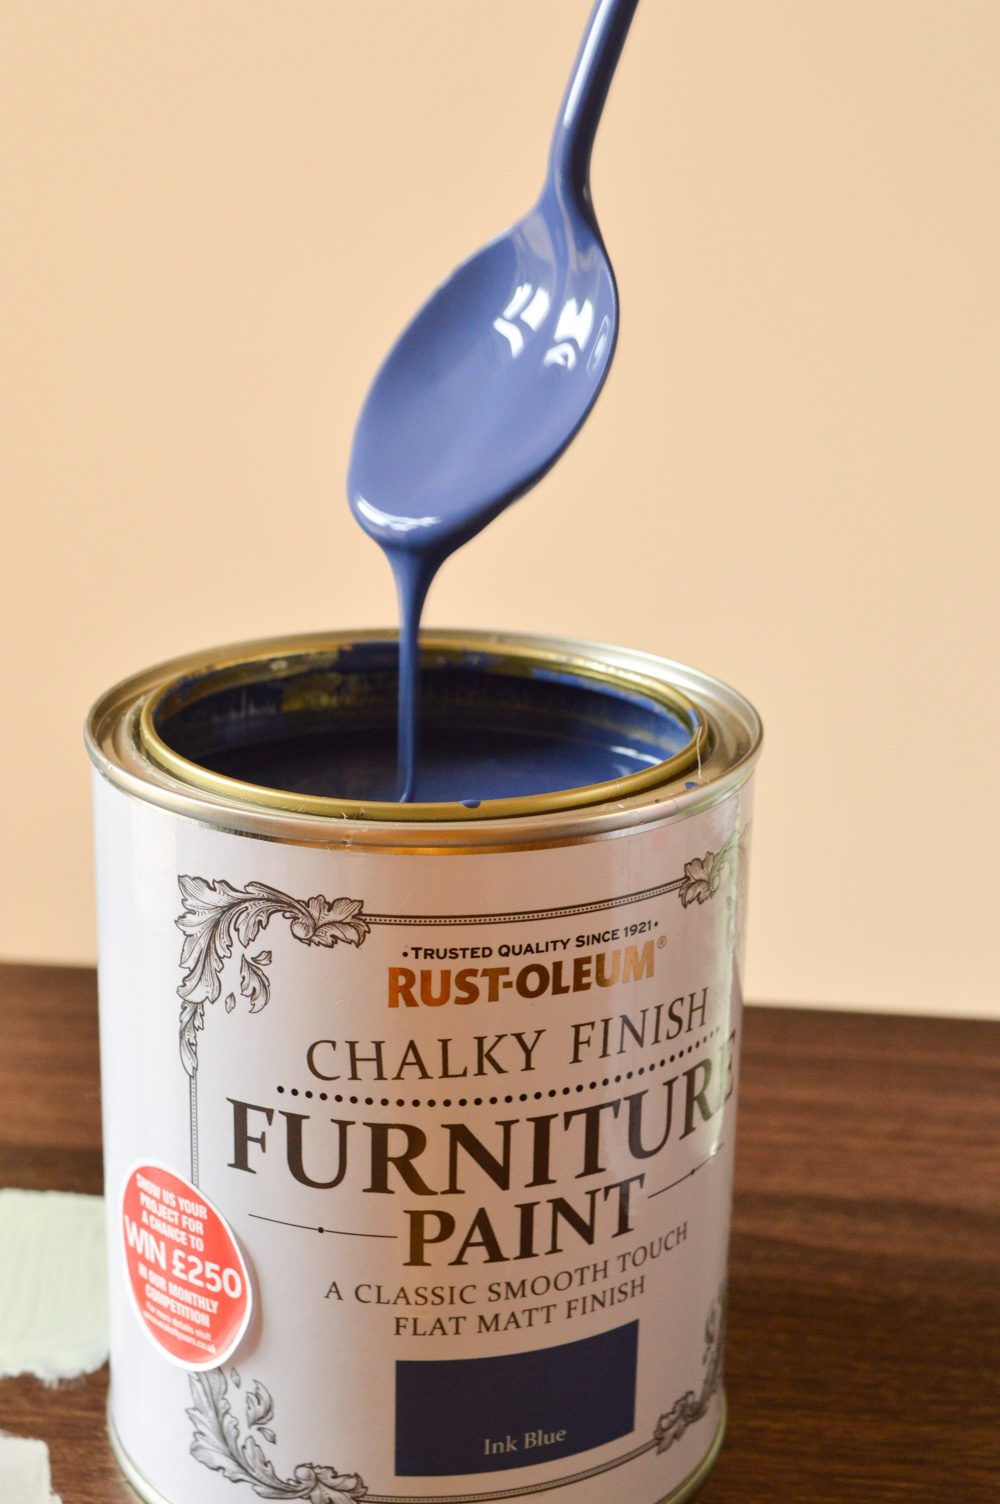
I chose Ink Blue and Flint as the main colours for the shelf. Ink Blue makes me think of my mother’s blue glass collection. It’s a classic shade and will go with everything. Flint, as a neutral grey, will definitely go with everything. Pretty useful for a shelf if you ask me!
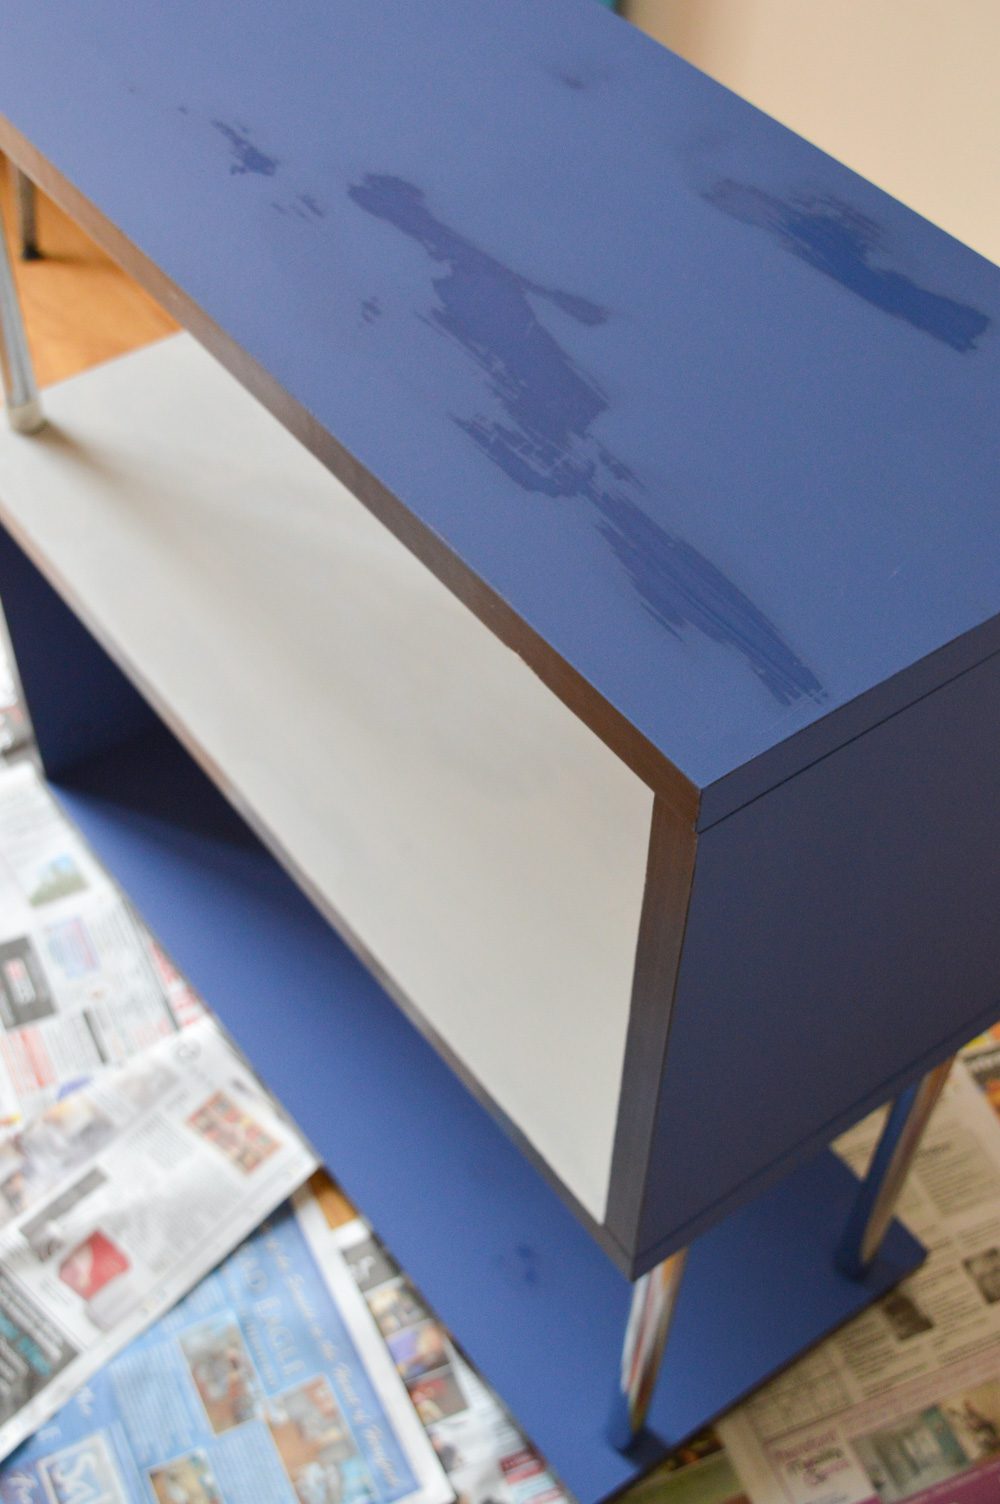
I let the shape of the shelf dictate where I used the paints. For the two main colours, I followed the S shaped surface to enhance the shape and add more depth.
Each can required a lot of mixing. Instead of paint stirrers I just used old spoons. (Whatever gets the job done, right?) Once the paint is mixed it has a lovely smooth texture. If the paint is too thick you can use plain old water to thin it down.
And the paint is pretty much odour-free, too.
The paint took about half an hour to dry when I used a thick coat straight from the can. Ink Blue covered the dark walnut colour in one coat. The Flint took one coat and a second thinner coat just to cover up a few spare patches.
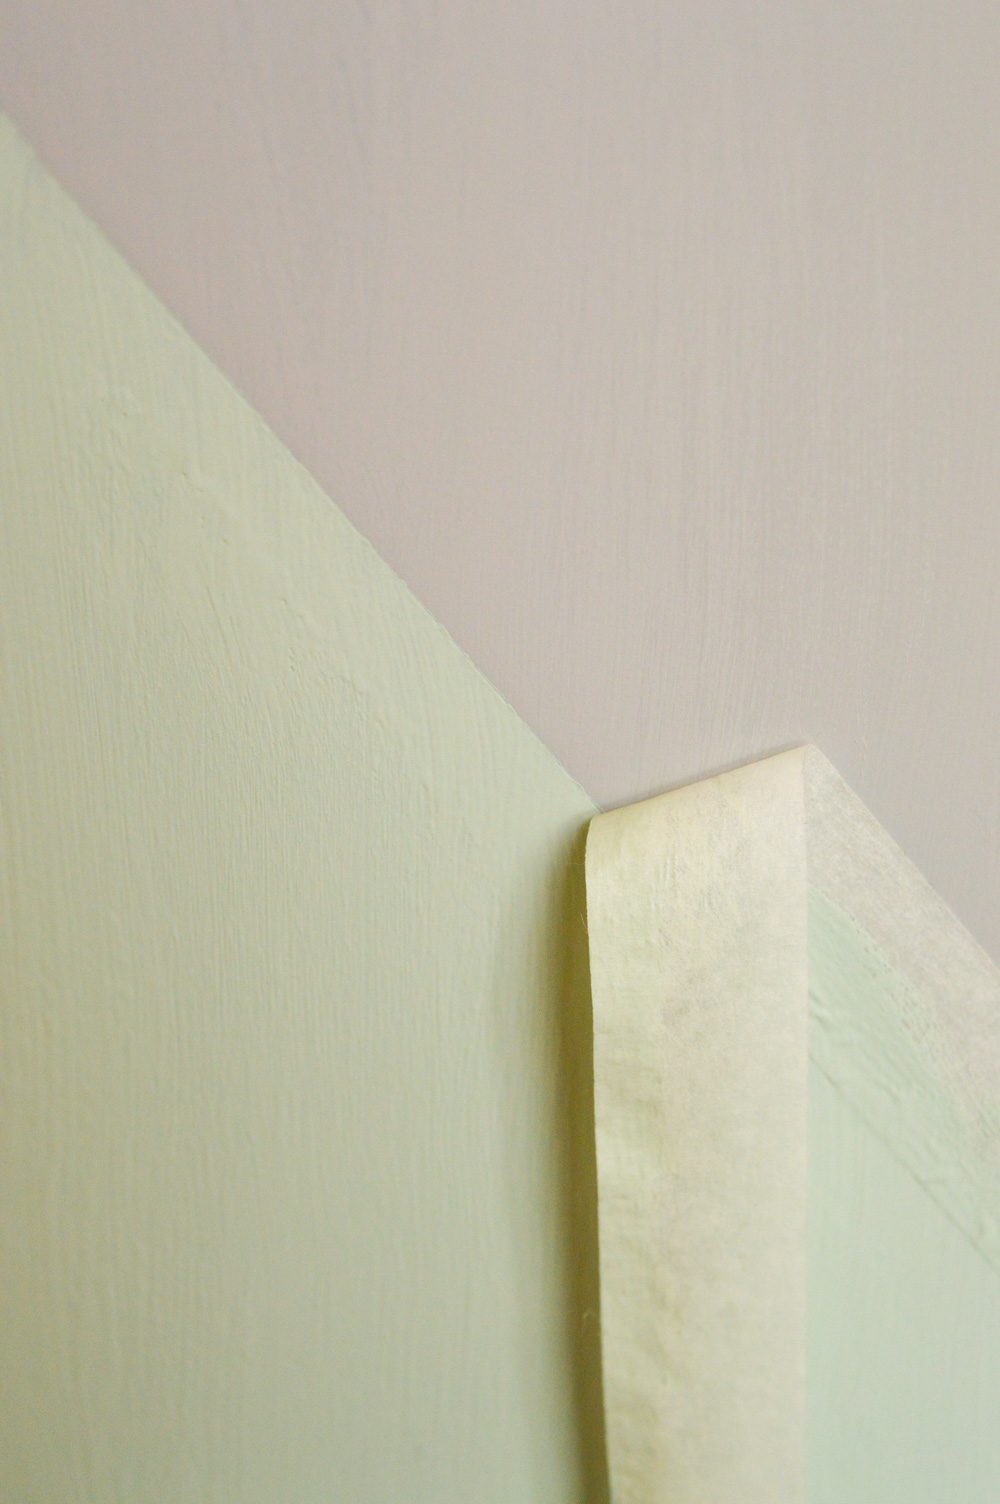

After letting the base colours dry I used masking tape to divide each side section diagonally. One half of each side was then painted Laurel Green.
Taping over paint always makes me nervous. Fear not, Rust-Oleum’s Furniture Paint let the tape stick (no leaking when I painted over it!) and pulled away without damaging the paint underneath. Perfect.
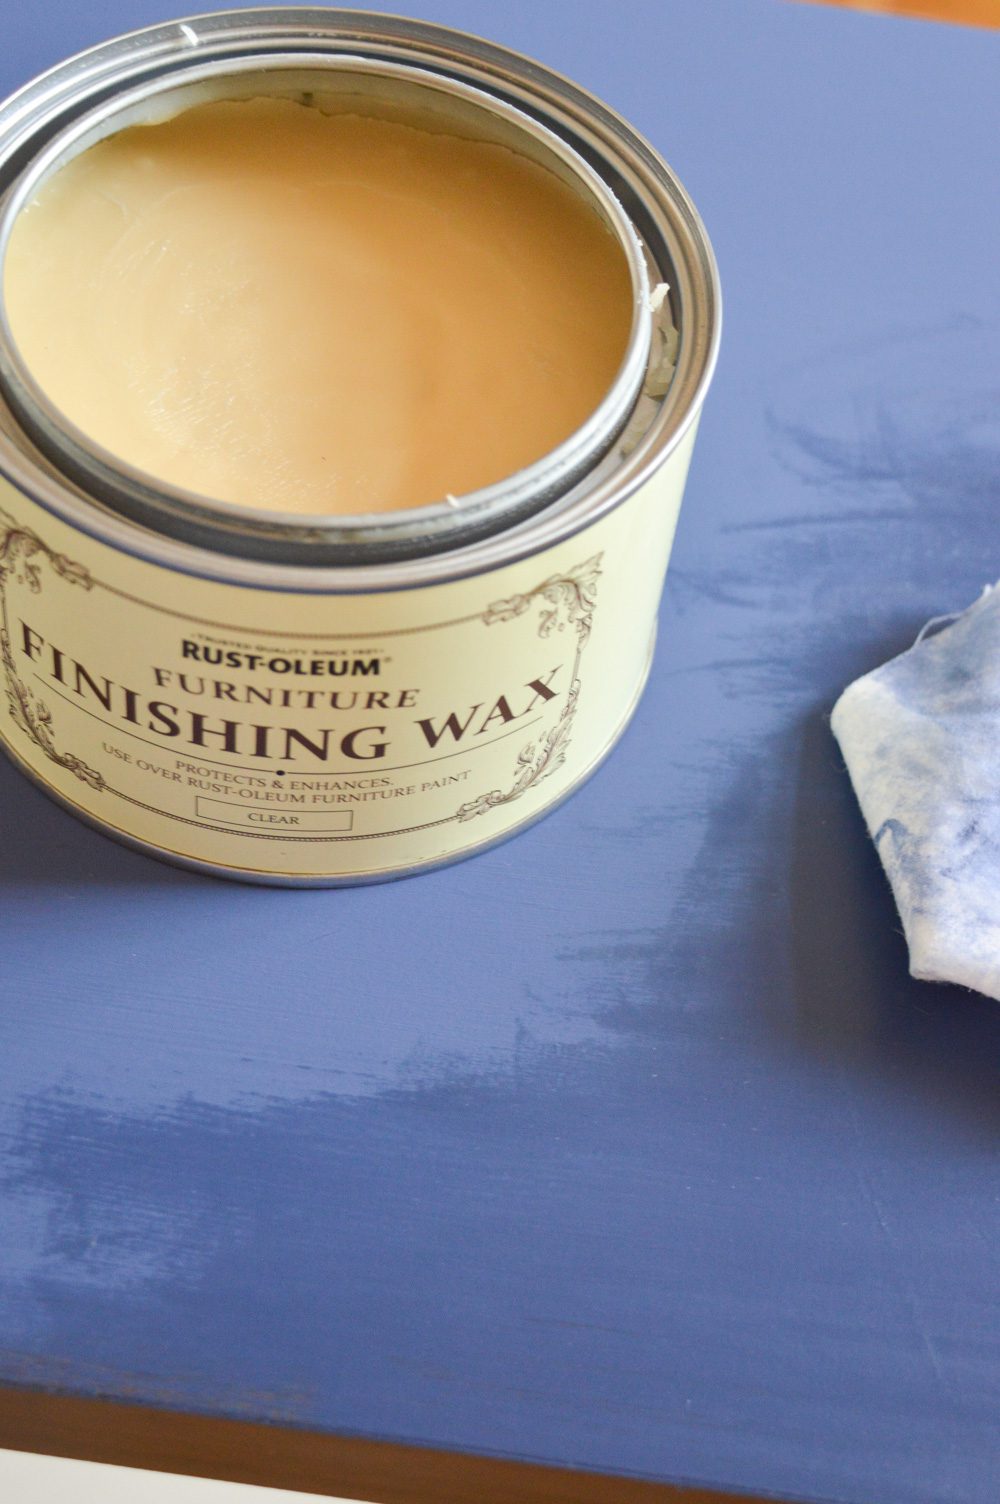
And finally, I used Furniture Finishing Wax to protect the paint. Just like the paint, the wax is virtually odour-free. I cut up an old sheet to make lint-free rags. Quick tip: Some colour will come off onto the rag so I used one for each colour.
The wax is pretty dense and can be applied very thinly. It brings out the true colour of the paint as it’s applied, deepening the colour as it protects.

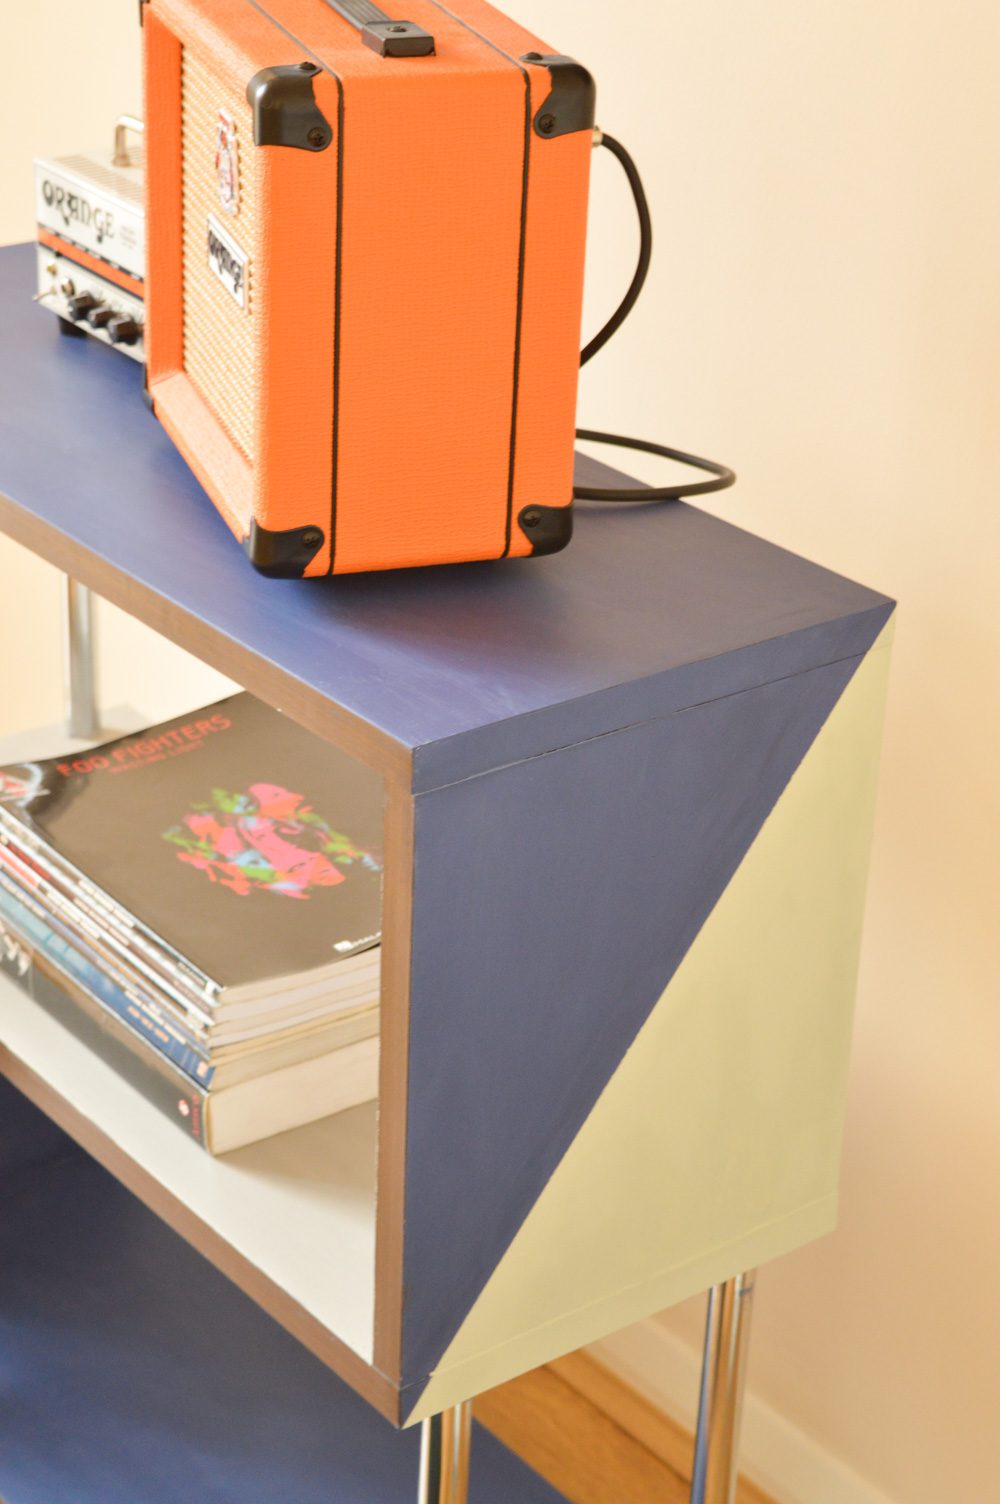
Once the wax dried, the shelf was ready to use. Instead of being hidden upstairs the shelf now has pride of place in our music-loving front room.
I love the almost bachelor combination of the Ink Blue, Flint, and Laurel Green. I’ve never been a pink loving person!
Now I’m thinking our coffee table and breakfast bar both need a fresh new look…
What have you made for your home recently?
Lots of crafty love,
![]()
Disclosure: This post was made in collaboration with Rust-Oleum. All opinions are my own.