DIY Pocket Notebooks

These little notebooks can be whipped up in less than half an hour. For a stationery addict like me, that’s a huge game changer. Having a notebook wherever I go is a necessity!
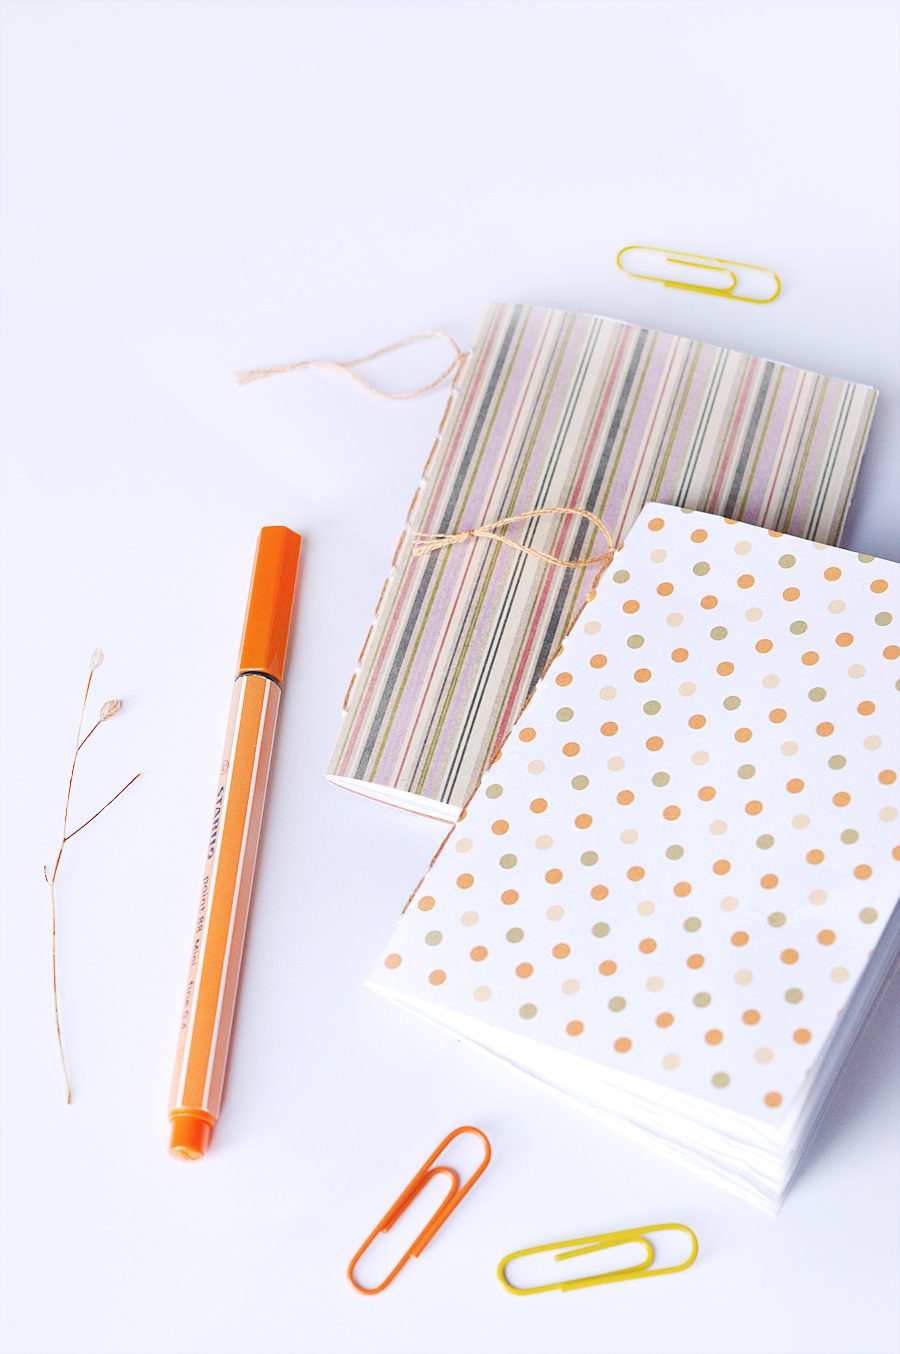
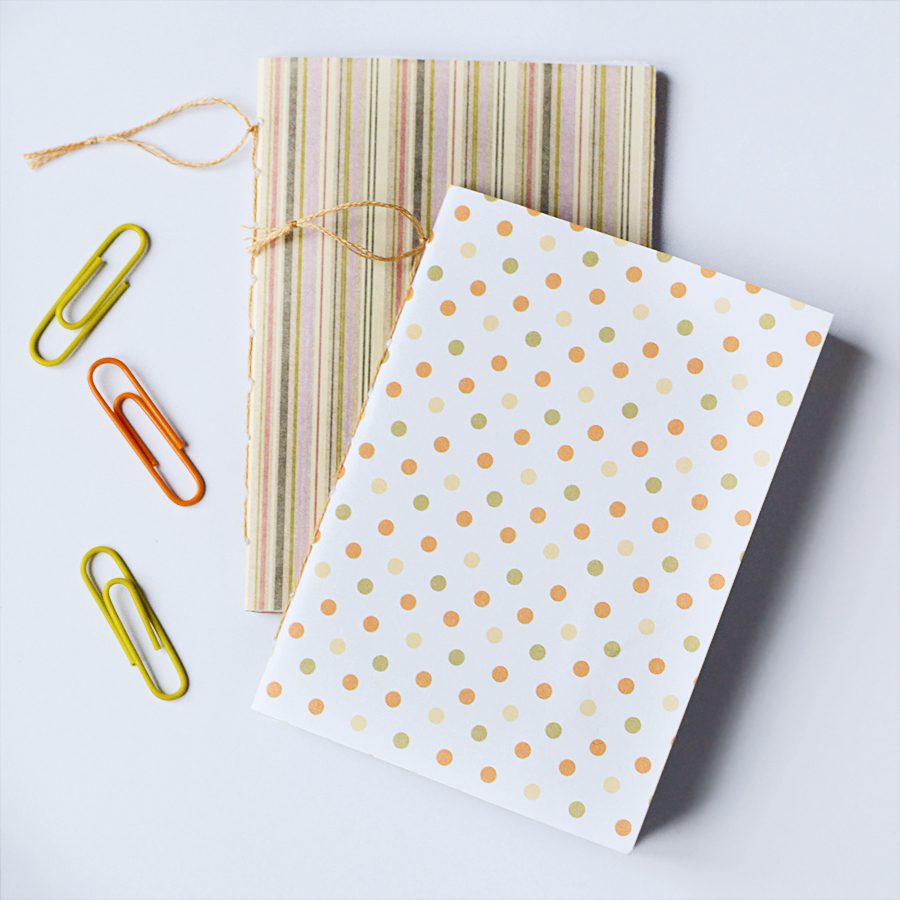
I’ve made a pair of A7 notebooks. Use the same techniques to make whatever size you like.
What you’ll need
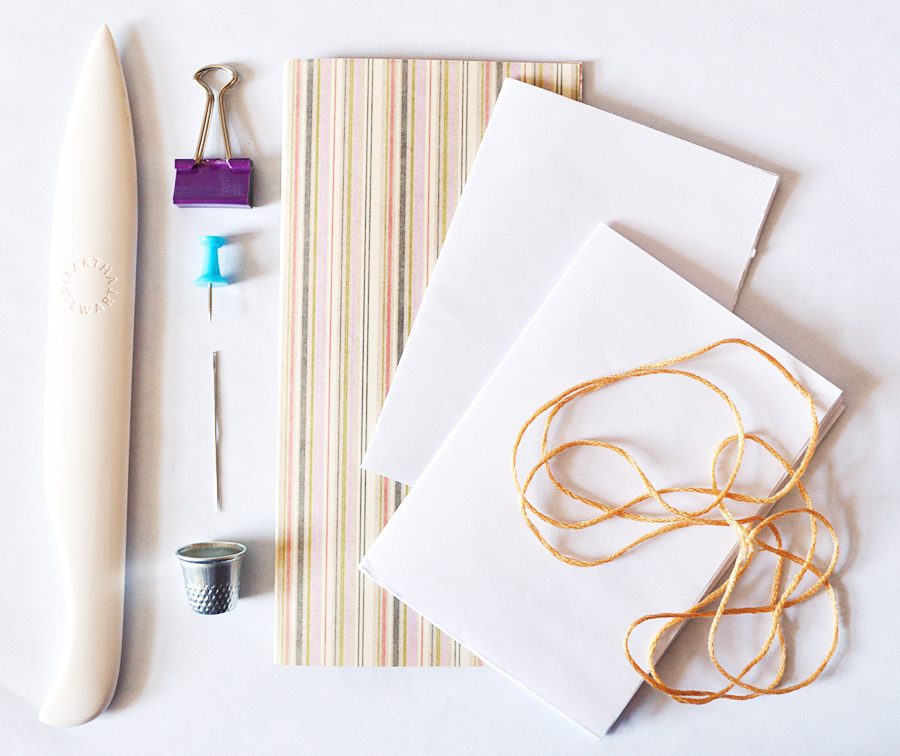
To make an A7 notebook with 48 pages you’ll need:
- Size A6 paper for cover (150gsm or more recommended!)
- 3 sheets of A4 paper (to make 12 sheets of A6; 70-90gsm recommended)
- If cutting A4 paper to size, scissors or an art knife are helpful!
- Embroidery floss + needle
- Bone folder or similar tool
- Ruler and pencil
- Thumb tack (optional thimble, but you probably won’t need it)
- Binding clips
That’s right, folks. You can use stationery to make more stationery. Mind. Blown.
Making the notebook
Cut your three A4 sheets into A6-sized sheets. Each A4 will give you four A6 sheets. Stack the twelve A6 sheets and fold in half. Use the bone folder to make sure the crease is nice and sharp.
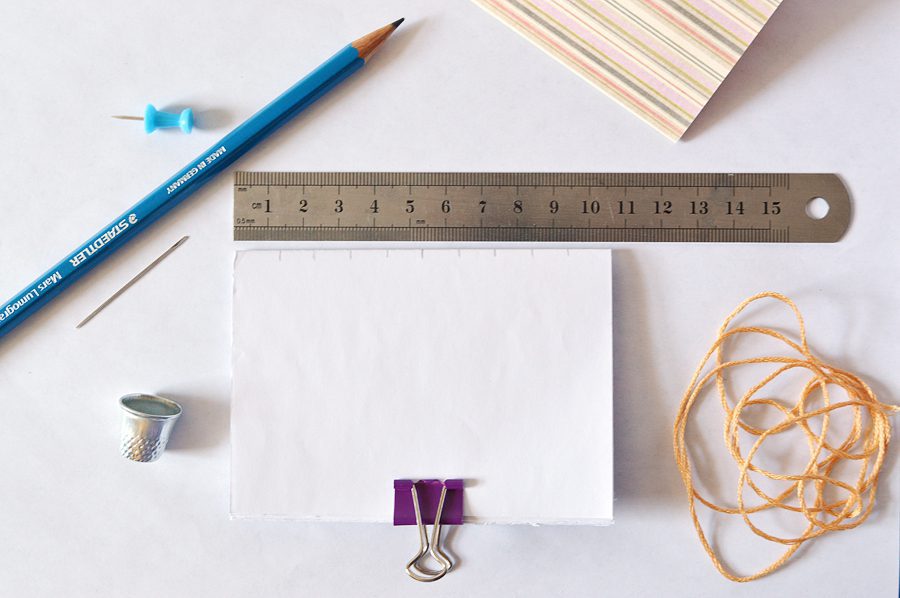
Measure and mark the folded edge; it should be 10.5cm long. Mark the centre, then use that point to mark 1cm points towards each edge. Measure and mark the cover.
Unfold the pages and, with binding clips holding them in place, use the thumb tack (and thimble if you need to) to pierce the pages and cover.
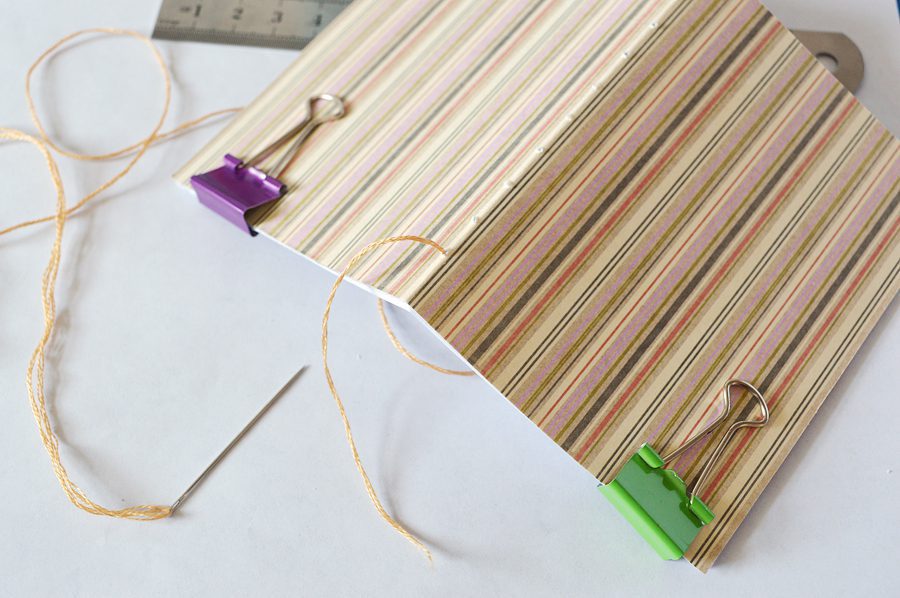
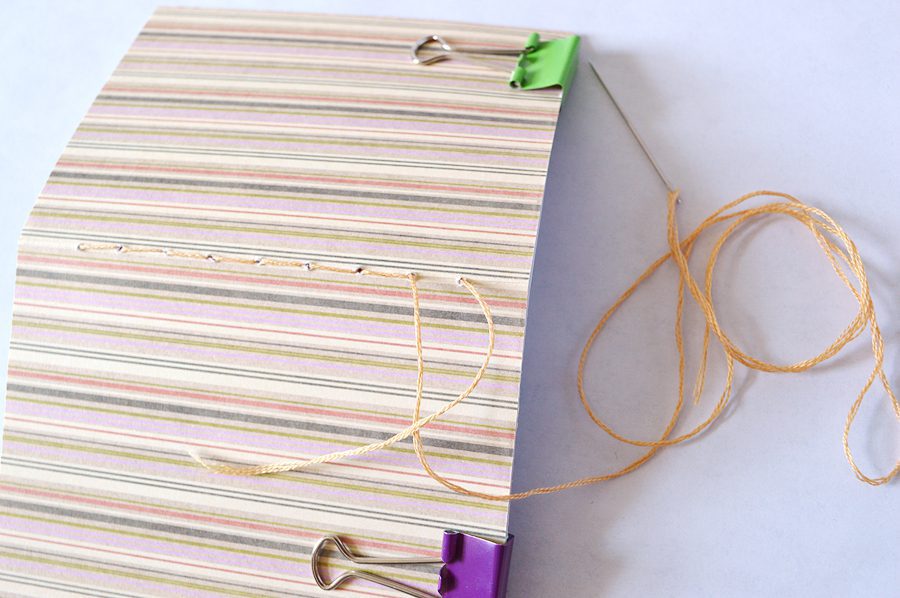
Thread your needle (I used 3 strands of the embroidery floss) and start the binding as shown. Leave a 3-4″ tail to tie later.
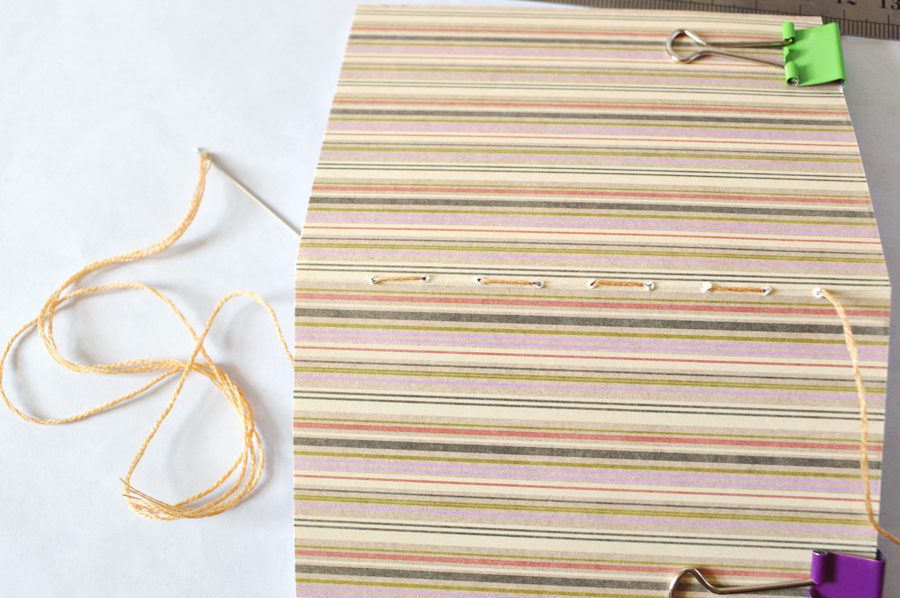
Alternate stitches until you reach the edge, then alternate back to the start. This’ll make one continuous line of stitching.
When you get to this point, hold the start tail taut and pull the working thread through to the inside of the notebook.
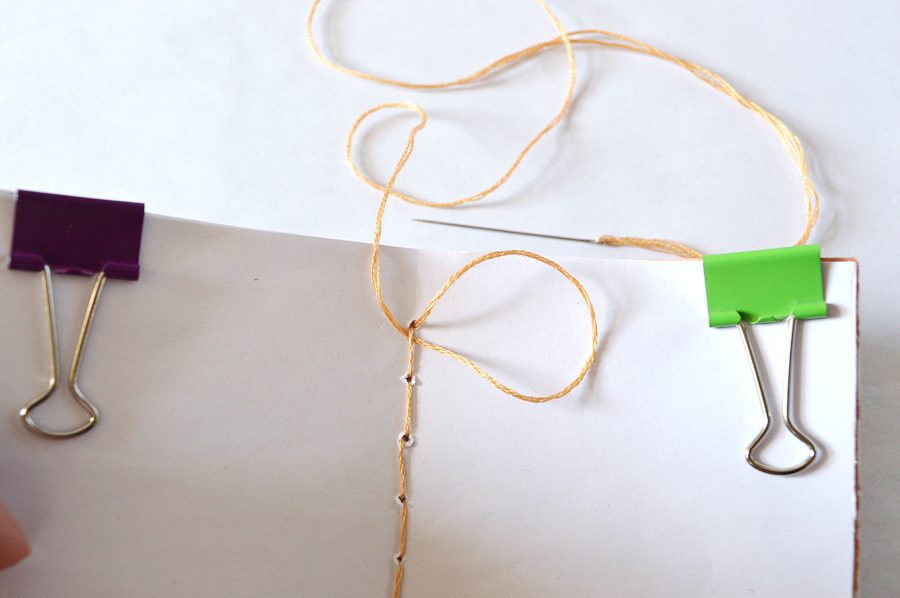
Loop the working thread around the starting stitch. Make sure you hold the tail tight so you don’t pull the stitch loose! Thread the working thread back through the same top-most hole.
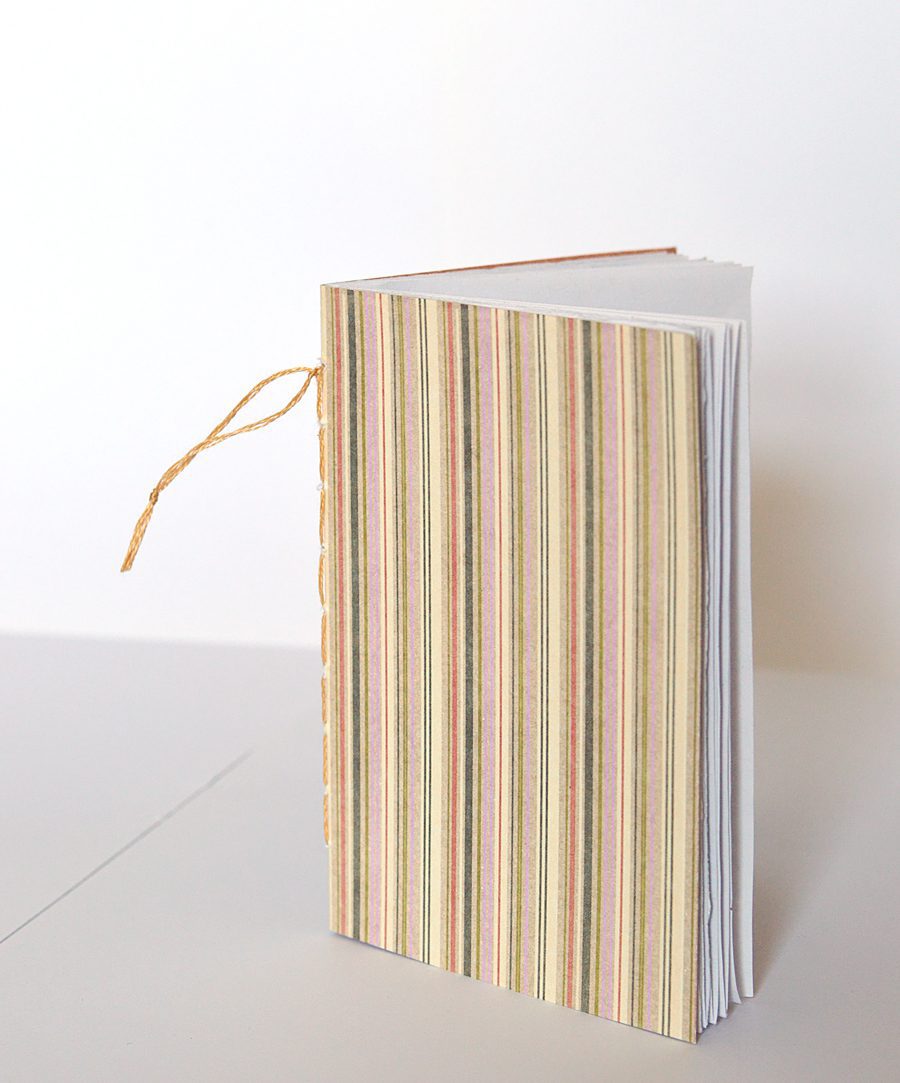
Double knot the tail and working thread, and you’re done! I’ve knotted the threads together at the end to make a decorative little loop. You could add a little charm or tassel, too!
Leave the notebook under a pile of books overnight to make it lay flat.
Last step? Enjoy!
Finally, I have a way to use up all the pretty papers I’ve collected!
If you love stationery and pretty office spaces, there’s more inspiration on my Pinterest board:
Follow Anna @ Crafting Fingers’s board Crafting Studio / Office Space on Pinterest.
Lots of crafty love,
![]()


The notebooks are so simple and cute! I love them!
Yeah, and they’re perfect for using up scrapbooking papers I’d never use otherwise!
[…] Crafting Fingers […]